Orders over $99 may qualify for free shipping.

5 Easy Steps to Building a Single End Brace
A properly installed end brace is the backbone of any high-tensile fence system. It holds the tension of the wire, supports the structure through seasonal changes, and keeps your fence upright and functional for years. Whether you’re building a six-strand electric fence or a non-electric containment system, understanding how to install a single end brace is essential. This guide walks you through the five most important steps using clear visuals and instructions.

Step 1: Driving the Anchor Post
Drive a 6" x 8' anchor post into the ground 48 inches deep, leaving 48 inches above ground. This deep set ensures long-term stability, especially under constant wire tension. For maximum strength, lean the post approximately 2 inches away from the direction of wire pull.
This backward lean compensates for the directional force of the fence and helps prevent the post from leaning or lifting over time. A solid anchor post is critical—it sets the foundation for the entire brace assembly.

Step 2: Brace Post Spacing
Lay out a 4" x 8' horizontal brace post between the anchor and brace post. Use this as a guide to mark where your second post—the brace post—should be driven. Ideal spacing between posts is 8 to 10 feet; this length gives enough leverage for proper bracing without compromising stability.
After marking, drive the brace post vertically and ensure it's well-seated and aligned. Correct spacing is key to preventing sag or lateral movement in your fence line.

Step 3: Brace Pins & Horizontal Post
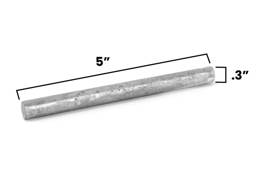
Drill a 3/8" hole 2½" into the anchor post and insert a 5" brace pin. This forms the anchor end for your horizontal rail. Drill another hole approximately 4" into the end of the horizontal brace post and slide it onto the brace pin. While holding the brace level, drill completely through the second (vertical) brace post and into the horizontal brace.
Insert a 10" brace pin to secure both components, leaving about 2" of the pin exposed. This exposed portion will later hold the brace wire. Ensure everything is tightly fitted—this cross-rail resists inward movement caused by fence tension.

Step 4: Installing the Bracing Wire
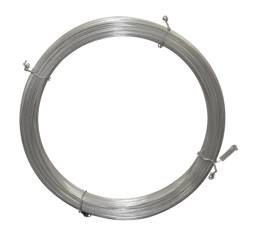
Drive a staple about 2 inches above ground into the anchor post, leaving ½" sticking out. This staple anchors the brace wire in position. Using 12½ gauge high-tensile wire, make two complete diagonal wraps in a figure-eight pattern.
Start at the bottom of the anchor post and loop diagonally up to the top of the brace post. Repeat in reverse. This figure-eight configuration is essential—it creates mechanical resistance that absorbs fence tension and transfers it into the ground, reducing stress on posts.
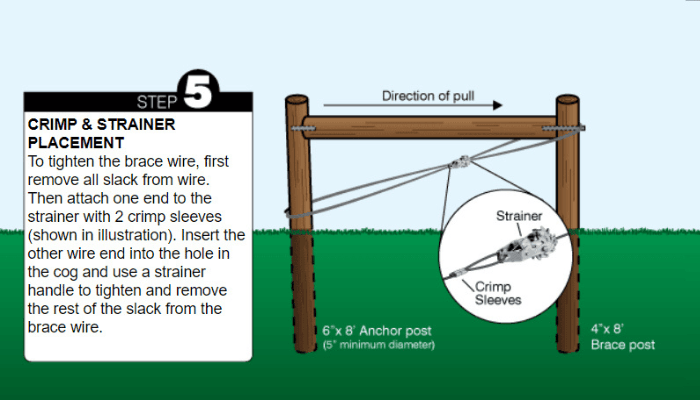
Step 5: Crimp & Strainer Placement
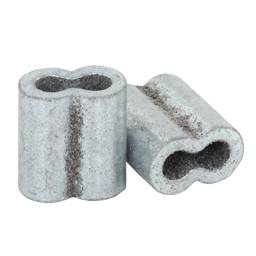
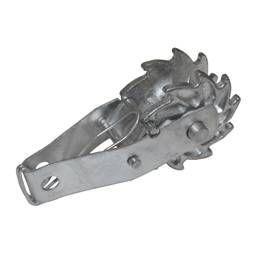
Pull out all slack from the wire using your hands or pliers. Attach one end of the bracing wire to a strainer using two crimp sleeves—this creates a permanent, high-strength connection. Feed the other end into the cog of the strainer and turn it using a strainer handle until all slack is removed.
A properly tensioned brace wire ensures the entire assembly holds its shape under pressure. This final step locks everything into place, making your end brace reliable and long-lasting.
🔨 Calculate Your Bracing Materials in Seconds
Loading fence configurator...
Conclusion
Building a strong, reliable end brace doesn’t have to be complicated. By following these five steps and using the right materials, you’ll create a support system that holds up against tension, livestock pressure, and time. A properly built brace ensures your high-tensile fence performs at its best—protecting your investment and your animals.
For quality hardware, strainer tools, and pre-cut brace wire kits, explore Kencove’s fencing supplies collection or contact our team for personalized recommendations.