Orders over $99 may qualify for free shipping.
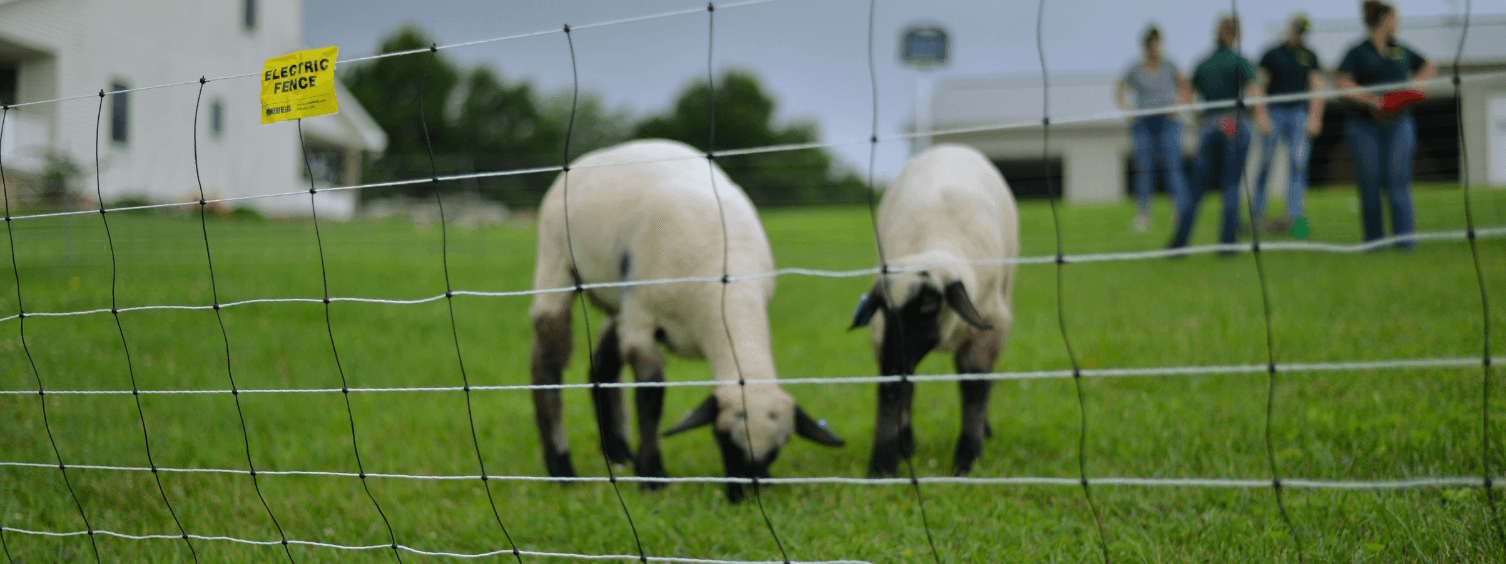
How to Install Kencove Electric Netting
Electric netting is one of the easiest and most flexible fencing options available—but getting the setup right is important for both performance and safety. Whether you're building a temporary pasture, protecting a garden, or creating a predator-proof enclosure for poultry or livestock, proper installation ensures your fence stays upright, energized, and effective.
Kencove Electric Netting is designed to make the process simple. With built-in step-in posts and lightweight construction, one person can install an entire fence line in just minutes—no special tools or prior fencing experience required. This guide will walk you through each step of the installation process, from unrolling the netting to powering it up, with helpful tips to avoid common mistakes and ensure long-lasting performance.
Before You Begin
Make sure you have the following ready:
- Kencove Electric Netting (with step-in posts attached)
- Low-impedance energizer (.25 joules per net minimum)
- Ground rod
- Jumper clips (usually included in a starter kit)
- Mallet or hammer (optional, for hard ground)
- Clear fence line—trim weeds or vegetation that could touch the net

Step 1: Unroll and Position the Netting
While holding all the posts together, untie the green string that secures the bundle, and drop the netting away from the posts. Do not remove the string from the first post—you’ll need it later to re-tie the net for storage or relocation.
Lay the first post on the ground at your starting point and begin walking your planned fence line, dropping each post as the net pulls along behind you.
Tip: Laying out the full net first makes installation smoother and helps prevent tangles or missed turns.

Step 2: Clear the Fence Line
Once the net is fully unrolled, inspect the fence line and remove any tall grass, weeds, or brush that could touch the net. Vegetation in contact with the net can drain power and cause shorts, especially along the lower lines.
Pro tip: Mow or weed-whack a narrow strip along your fence line before setup—it saves troubleshooting later.

Step 3: Install the Posts
Begin at your starting post and install each step-in post one at a time. Place the foot step at a 90-degree angle to the fence line, then press down with your foot until the post is firmly in the ground.
Tension the netting section by hand before stepping in the next post to ensure the fence stays upright and taut.
For hard or rocky soil, use a rubber mallet to gently tap posts into place.
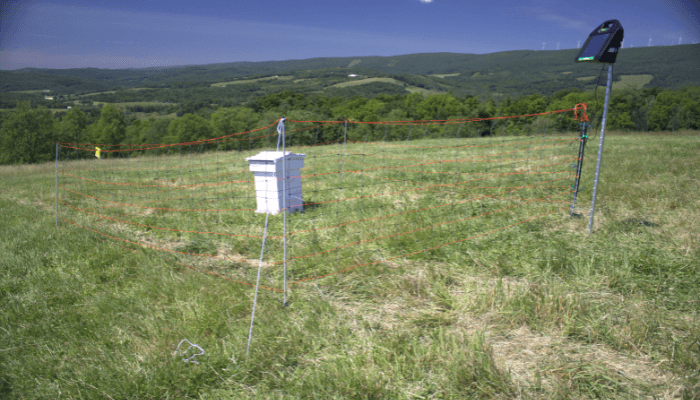
Step 4: Powering the Net
To electrify the fence:
- Connect the orange jumper clip from your energizer’s power terminal to the conductive clip on the net (either the green or orange wire bundle).
- Connect the green jumper clip from the ground terminal on the energizer to your ground rod.
- Plug in the energizer or connect it to your battery system.
If you’re using multiple nets, connect them end-to-end using the included clips or extra jumpers. For best results, place your power source near the middle of the run when linking several nets together.

Step 5: For Dry Ground or Poor Soil
In dry regions or areas with poor grounding, consider using Positive/Negative netting. This type of net completes the electrical circuit through the net itself—so an animal touching both a positive (orange) and negative (green) strand receives a full shock, even if the soil is too dry to conduct properly.
Final Tips
- Keep nets energized when in use. Unpowered netting can be damaged by animals chewing or pushing through it.
- All Kencove nets include a non-conductive bottom line to reduce grounding issues from contact with the soil, but trimming weeds and tall grass is still essential.
- When moving or storing the fence, roll the net up neatly and re-tie it using the original green string to prevent tangling.
- New to electric netting or want to understand more about its advantages? Check out the Benefits of Electric Netting to see why it’s a favorite among farmers, gardeners, and homesteaders.
Conclusion
Installing Kencove Electric Netting is a simple process that offers reliable protection and flexible fencing in just minutes. With basic tools and a bit of preparation, you’ll have a safe, secure enclosure for livestock, poultry, gardens, or predator control—ready to move or reuse whenever needed.
Related Items