Orders over $99 may qualify for free shipping.

Planning and Installing High-Tensile Fence
High-tensile fencing is a trusted choice for long-lasting, cost-effective farm and ranch enclosures. Known for its strength and minimal maintenance needs, this system is ideal for containing various types of livestock or keeping wildlife out.
Unlike traditional fencing methods, high-tensile systems use fewer posts and lighter materials, making them easier to install and more economical over time. This article outlines the key planning steps, tools, and techniques you'll need to successfully install a durable six-wire high-tensile fence.

Why Choose a Six-Wire High-Tensile Fence?
The six-wire fence is a popular high-tensile fence. It can be electrified to make it more secure, but it will generally keep stock from escaping even if the electric is off for an extended period. The 60-inch-high anti-deer fences, 48- to 54-inch-high cattle or horse fences, and 42-inch-high sheep fences are all examples of good six-wire electric fence variations.
Compared to non-electric fences, you'll enjoy major savings by using wide post spacing (20 to 50 feet) and lighter end bracing. The six high-tensile wires do not appear to be easy to get through, are almost impossible for animals to break, and often last for over forty years. This fence looks great—and it works!
Can I Afford a High-Tensile Fence?
High-tensile fencing is very low in cost when compared to other options, especially when considering its long life expectancy. You could put up the fence today and likely never need to replace it in your lifetime.
While wire and associated hardware may be less expensive for the 16-acre package listed, the most expensive parts of the fence are posts and labor.
If you find a contractor who supplies all the material and labor to build a six-wire fence, the cost is likely to be over a dollar a foot. If you do not have the time, a contractor may be your best option.
If you need a good contractor, check with us. We may know of a contractor in your area who is a Kencove customer. If not, Kencove can help advise a crew interested in learning how to build high-tensile fences. We have helped start many independent fence builders.
Calculate Your High-Tensile Fence Cost in Seconds
Loading fence configurator...
Essential Tools for High-Tensile Installation
Using a Spinning Jenny
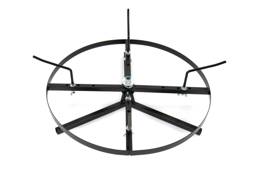
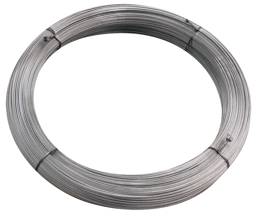
The spinning jenny is the most essential tool. High-tensile wire comes in about a 21-inch diameter coil with no spool. It is easily dispensed with a turntable (spinning jenny).
Using nothing to dispense the wire is an easy way to end up with a tangled mess or an injury.
Driving Fence Posts
The biggest labor-saving tool is a tractor-mounted post driver. Posts are set very quickly and are tight. A good driver may cost $2,500 or more. If you have a lot of fence to build, it will pay for itself in labor savings alone.
A post hole digger will work, but it will take more effort and time. End and corner posts need to be placed four feet into the ground and the lower third of the hole should be concreted to keep the post from lifting.
Choosing Wire Connection Methods
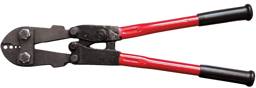
We recommend using a crimping tool with the proper number of sleeves for your application. This maintains the full strength of the wire and creates a neater connection.
Hand-knotting high-tensile wire is difficult to learn and can reduce breaking strength by up to a third—even with a perfect knot.
Planning and Layout
Measuring Your Fence Line
Start by measuring the length of your fence. One economical way is to walk it off, using a known step length to calculate total footage.
Then draw a rough map of the fence showing lengths, gates, corners, and terrain features. This visual plan helps with both materials lists and the actual build process.
Estimating Acreage and Perimeter
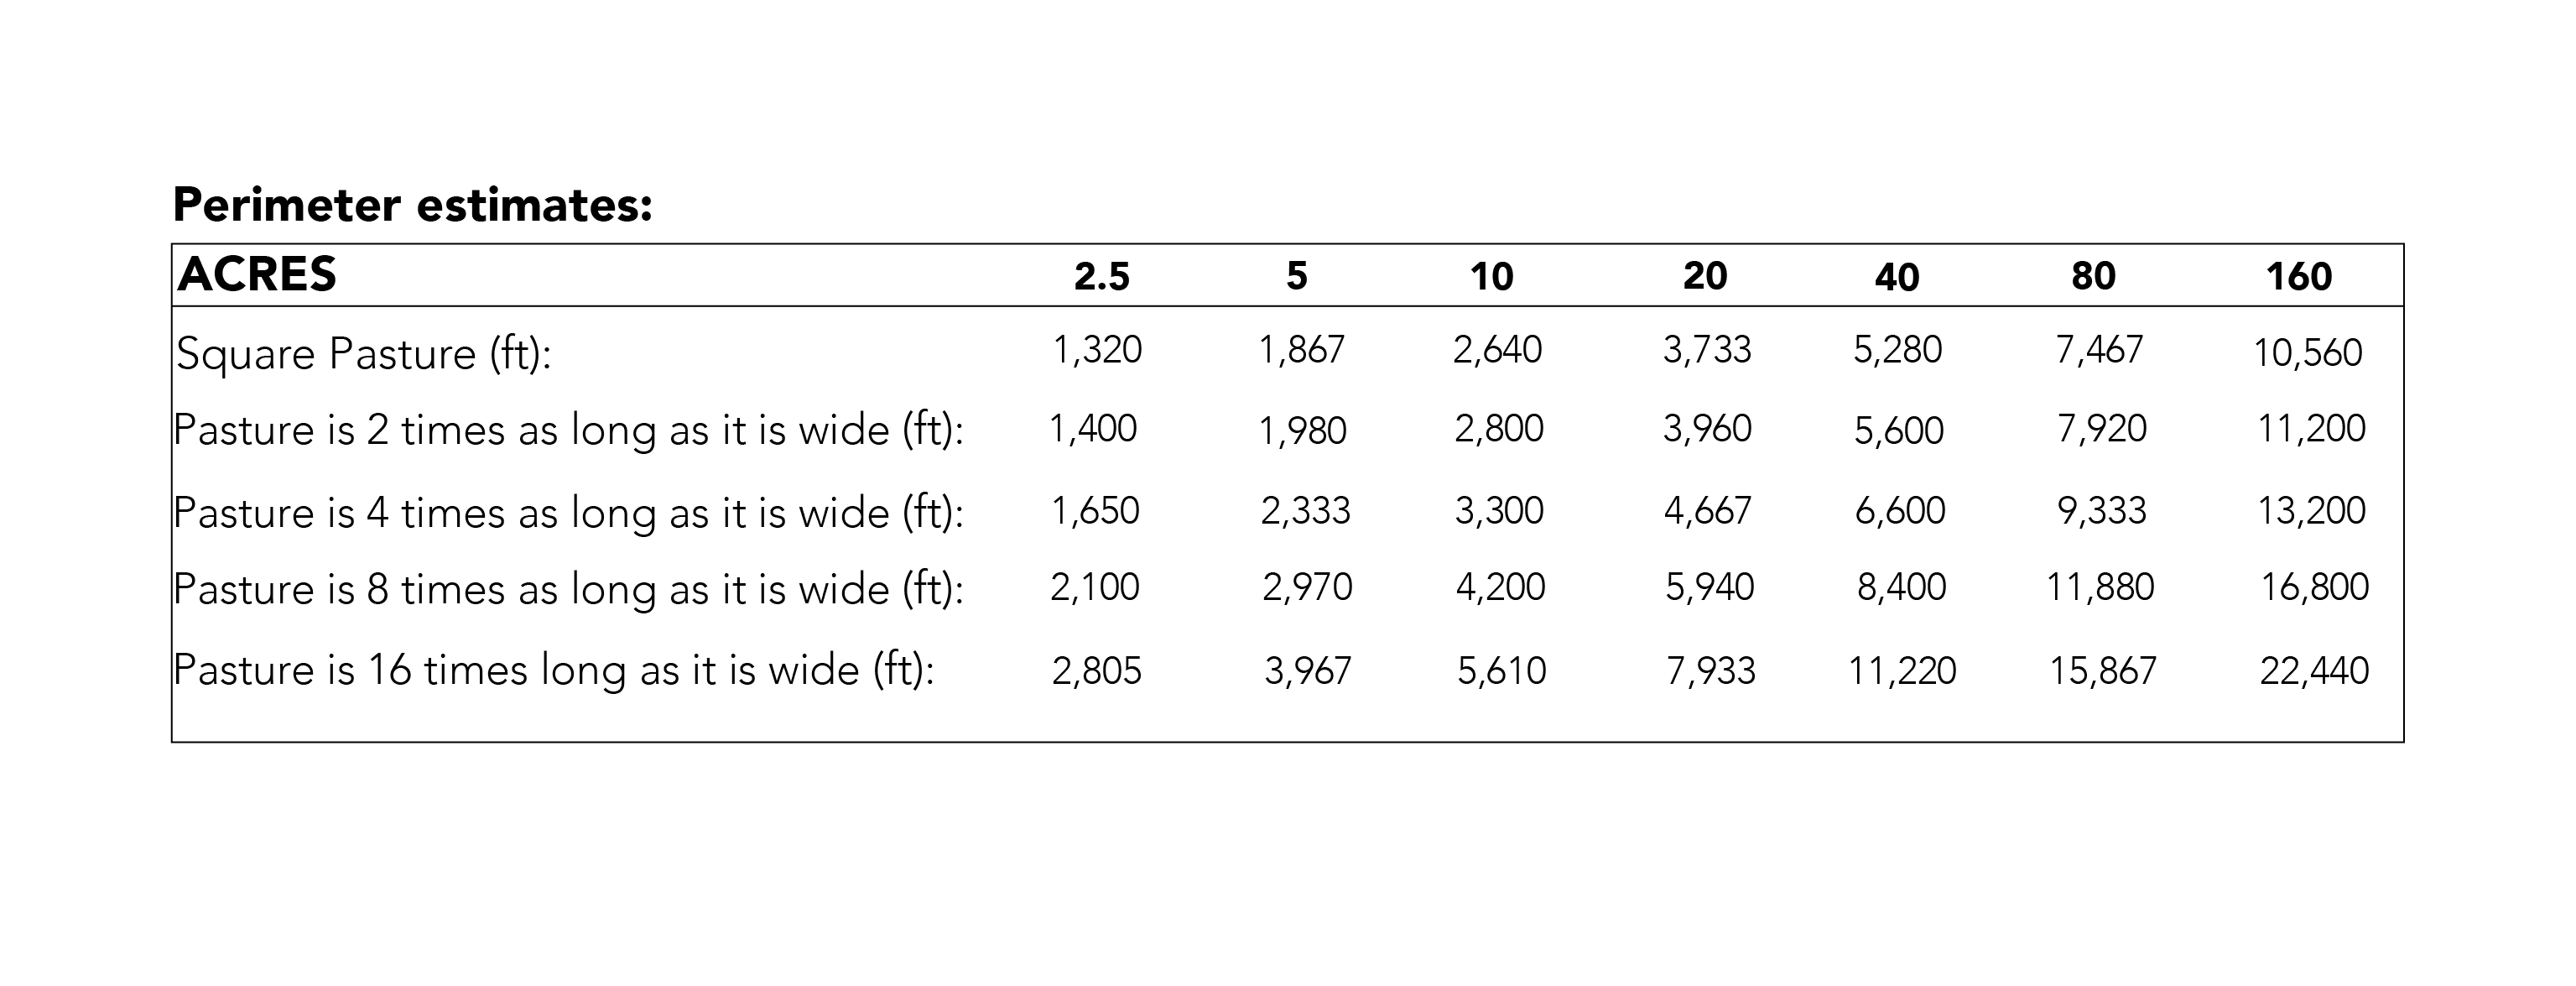
Refer to the included perimeter chart to estimate fence length based on acreage. Keep in mind this is only a guide. Accurate measurement is always best.
Get Your Instant Estimate with Just 3 Simple Measurements
Loading fence configurator...
Installing the High-Tensile Fence System
Materials for a 15-Acre Fence
A 15-acre fence with a 3,280-foot perimeter might require supplies for three corners, two ends, and two sets of in-line tighteners for each wire strand.
Installing End and Corner Posts
Start by installing 5–6" diameter end and corner posts. Lean posts 2–4 inches away from the wire pull direction to help resist uplift.
Pulling the First Wire
Use the spinning jenny to unroll the first (lowest) wire. Walk along the fence line steadily, rounding corners as needed, and tie off at the second corner using crimp sleeves or a hand knot.
Install a strainer at the midpoint to remove slack and tighten the wire. This becomes your guide wire for setting line posts.
Placing Line Posts and Top Rails
Line posts should be positioned about half an inch from the guide wire. Place them so animals push wire toward them (wires inside the fence). On corners, wires go on the outside.
Use a marked stick to measure and mark consistent wire spacing across all posts. Install the top rail centered between the top two wires.
Building a Brace Assembly
Use brace pins and a top rail between brace posts. Install a diagonal wire in a figure-8 pattern and tighten it using an in-line strainer.
Adding Additional Wires and Insulators
Pull the second wire and install brace wires and insulators. Use wraparounds on corners and tube insulators on line posts. Pre-thread insulators before pulling the wire.
Stapling the Fence Wires
Staple wires loosely to posts. Do not pinch the wire. Place staples horizontally above and below wraparound insulators rather than straddling them.
Tensioning the Fence
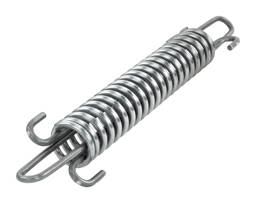
Install tension springs on one or more wires and tighten to 250 pounds where possible. The 1st notch = 150 lbs; 2nd notch = 250 lbs. If your fence has a weak section, keep wires just tight enough to avoid sagging and focus on keeping the system electrified.
Final Notes
This guide offers a practical overview of how to plan and install a six-wire high-tensile fence, covering every major step from layout to final tensioning. High-tensile systems are known for their durability, affordability, and flexibility—and with the right tools and approach, the process can be manageable even for first-time installers.
Whether you're fencing a few acres or a large pasture, investing in proper setup now can save years of maintenance down the road. If you have questions, need materials, or want professional recommendations, the Kencove team is always ready to help.