Orders over $99 may qualify for free shipping.

Safe-Fence Ground Rod Installation: How to Ground Your Electric Fence the Right Way
Grounding is one of the most important and often overlooked parts of a reliable electric fence system. Without a proper ground system, even the most powerful energizer will fail to deliver a consistent, effective shock. Many electric fence issues—such as weak pulses, inconsistent performance, or no shock at all—can be traced back to poor grounding.
Whether you're installing a new Safe-Fence system or troubleshooting an existing one, taking the time to install your ground rods correctly will make all the difference. In this guide, we’ll walk you through how to install ground rods for a Safe-Fence setup, why it matters, and how to avoid common mistakes that lead to poor fence performance.
Why Grounding Matters in Electric Fence Systems
Installing a minimum of three 6-foot ground rods, spaced 10 feet apart, ensures maximum efficiency in the operation of your electric fence. Inadequate grounding is the most common reason electric fences fail.
Think of the ground system like the antenna on a radio or TV—the larger it is, the better the reception. Similarly, the more robust your ground field, the better your energizer can complete the electrical circuit when an animal touches the fence.
Ground rods collect the electrical charge that travels from the fence, through the animal, into the earth, and back to the energizer. The animal will only feel the amount of power that successfully returns through the ground system, so it's critical to install a large enough ground field to recapture the full pulse.

How to Install Safe-Fence Ground Rods
Step 1: Prepare Your Trench
Within 20 feet of the fencer, dig a trench 20 feet long and 4–6 inches deep. Choose an area that avoids animal or vehicle traffic to prevent future damage.
Step 2: Drive Ground Rods
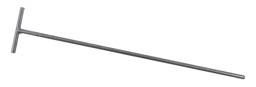
Install a ground rod at each end of the trench and one in the center, totaling three ground rods spaced evenly (10 feet apart). Each rod should be 6 feet long and driven deep into the soil.
Step 3: Lay and Connect Ground Wire
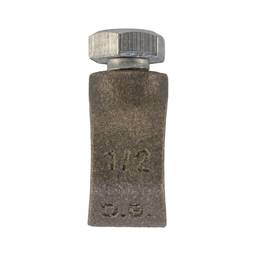
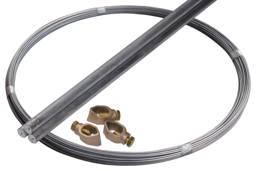
Using galvanized wire and brass acorn clamps, connect the ground rods. Lay the wire flat in the trench and secure it to each rod using the clamps. Attach the end of the wire to the negative (ground) terminal of your fence charger.
Step 4: Connect Fence Charger to the Fence
Attach a high-voltage shielded wire from the positive terminal of the energizer to the fence line. Never use unshielded wire for this connection, as it can leak voltage and reduce performance.
Optional: Add Safety Covers
If horses will be near the grounding area, consider placing metal coffee cans or protective covers over the tops of the ground rods. This reduces the chance of injury if a hoof strikes the exposed end.
Post Installation for Tension Support
While working on your grounding system, it's also a good time to plan your structural posts. Mark, dig, and install support posts at all key structural points:
- Gateways
- Corners and ends
- Elevation changes (hills and dips)
- Long straight spans over 825 feet
Use 4"x4" square or 5"+ round pressure-treated wood posts. These should be buried at least 3 feet deep and set in concrete for long-term strength and durability.
No matter how powerful your energizer is, if your grounding system is weak, your fence won’t work. A properly installed ground system ensures the electric circuit completes fully—delivering a safe, effective pulse every time an animal touches the wire.
By following these steps and giving your ground system the attention it deserves, you’ll prevent common issues and ensure your Safe-Fence system runs reliably year-round.
Related Items