Free Shipping on qualified items.
Click here for more details


BLOG

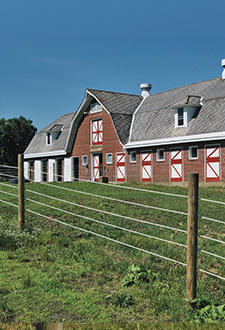
Planning Your High Tensile Fence
What is the most important thing you can do to ensure a strong, lasting fence?
PLAN!
Every good fence begins with planning long before the first post or staple is driven. This blog series will help you successfully orchestrate all aspects and considerations of your lifetime High-Tensile fence. A well-designed fence will not only endure the test of time but also prove versatile and advantageous in all its applications. Creating a context will help guide your decision making and fence design to ensure it is as useful to your operation as possible.
Context refers to the reason(s) behind a decision or action. Ask yourself, “What is the context of this fence design?” Perhaps your context is to expand pasture for sheep or cattle. Maybe the context is to establish a perimeter fence or secure border between you and your neighbor - after all, a good fence makes for a good neighbor! Low building cost is context consideration that often leads to the selection of high tensile fencing. Your context will help you define the details of your project. All of these specifications will depend on your context and application. Context considerations may include:
- Purpose of fence – What does this fence need to accomplish? For example: livestock containment or perhaps predator control
- Budget for materials, labor, and time
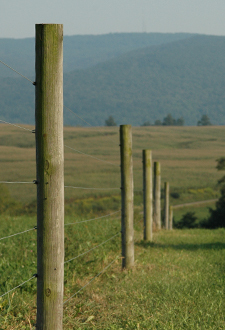
- Defining boundaries – will this fence follow the natural flow of the landscape (potentially needing more bracing at curves and dips/rises) or be based on property lines
- Class of livestock being containing will determine a lot about your context
- Style of fencing
- Finished height of the fence
- Spacing of wires – configured to effectively contain your livestock or deter predators
- Electrified and non-electrified strands to match how animals are likely to interact with the fence
Understanding your context opens the gate to designing and planning your ideal fence.
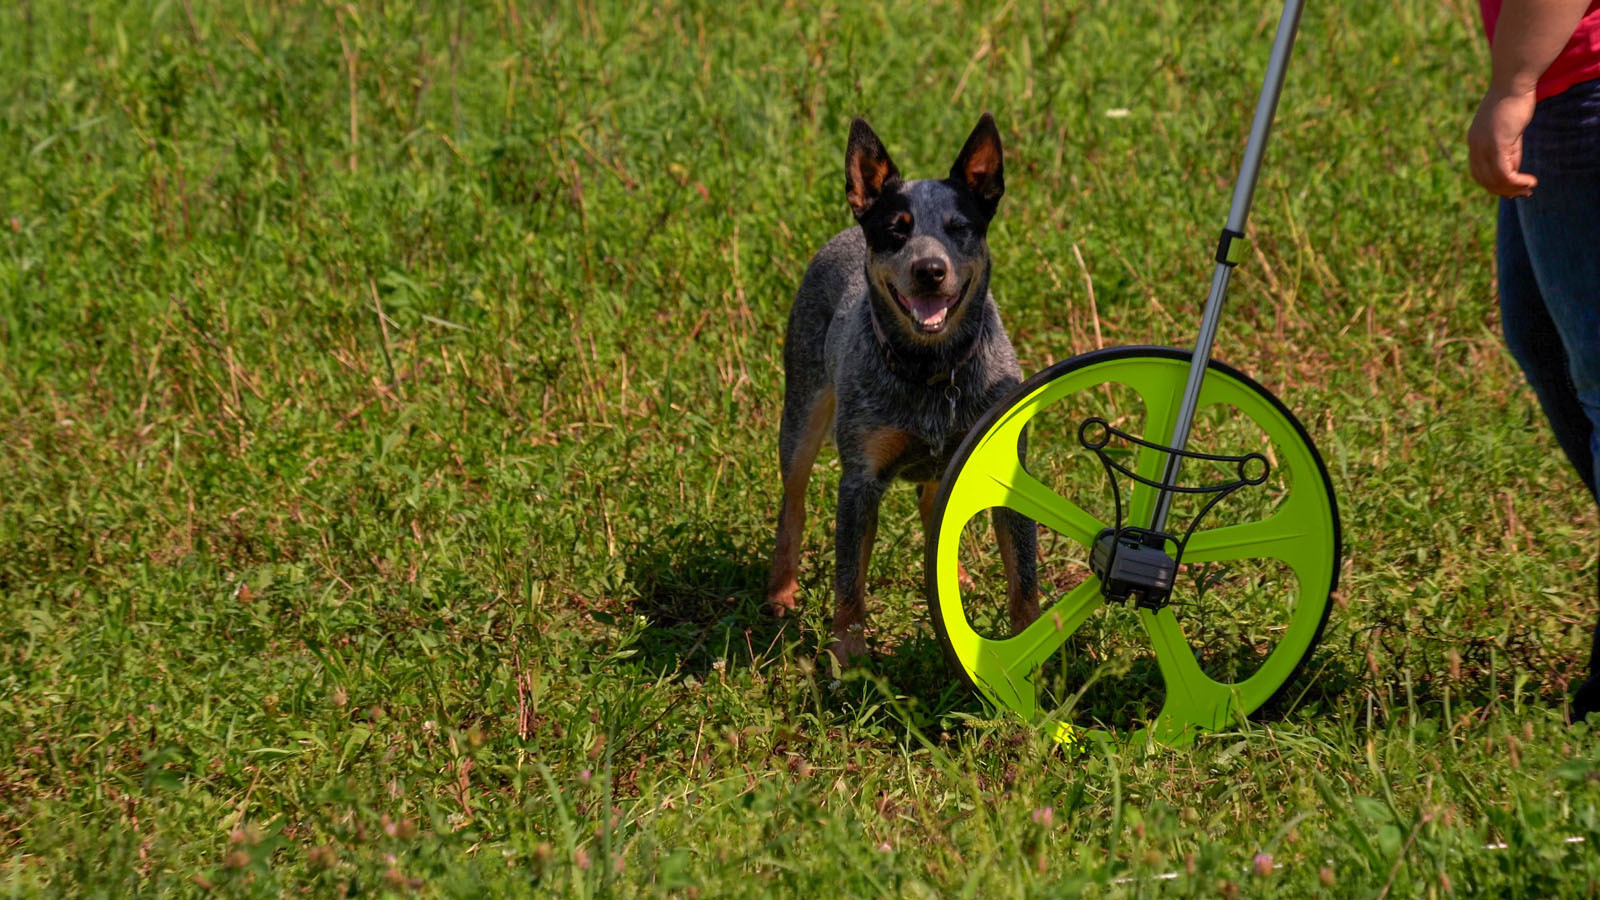
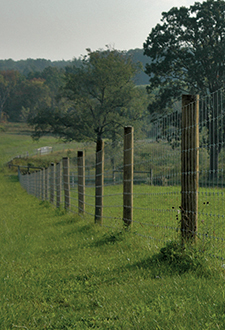
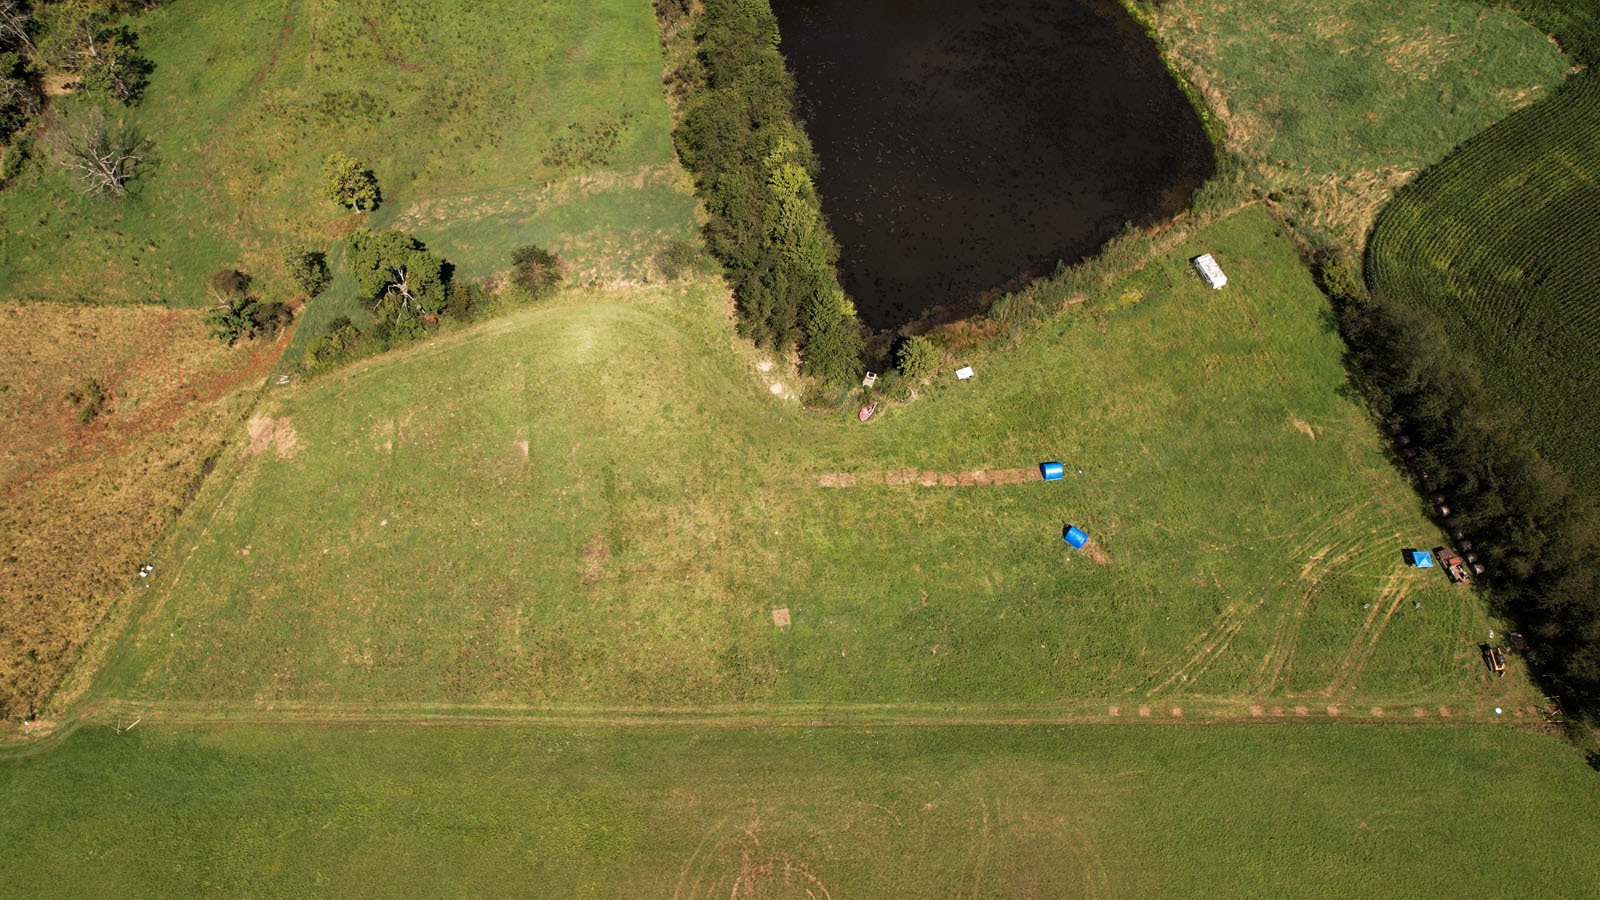
The next step in planning your fence is mapping the layout. Measurements and distances are needed in order to assemble accurate material lists and budget accordingly. There is a plethora of apps available to help you measure distances (feet or meters) and area (acres or hectares) of the land you are building on. The tried-and-true method of measurement is a measuring wheel. Kencove offers a 19” diameter wheel by Meterman (TMW) and an economy 12.5” diameter wheel (TMWE) to make this task easy. While apps provide a less physically demanding means of measurement, nothing replaces boots on the ground and laying eyes on the landscape you intend to fence. You’d be surprised what observations are discovered at a walking pace. As you walk, note the perimeter characteristics with your context in mind.
Once you finalize the shape or perimeter of your fence design, decide where corners, bends, gate openings, dips, rises, interior divisions, and the like will be incorporated into the build. Try to account for immediate use as well as potential expansion, add-ons, or flexibility needed down the road. You want a system that is pliable and provides you with as many uses and applications as possible. Poor planning is a common regret after completing a fence. To help you avoid builder’s remorse, here are a few primer questions to consider when building a fence system to fit your context:
- Are there enough gate access points?
- Are gate openings wide enough for the largest equipment you own or might borrow? (Gates)
- Do any sections of pasture have limited access or great distance to the nearest gate?
- Where are existing or planned roads in regard to proposed fence lines and other features?
- Where and how will water be accessed? (Jobe valves)
- Where and how will shade or shelters be accessed?
- Where and how will the fence be electrified – AC, solar, battery? (Energizers)
- Where will electric be sourced for interior division fencing? (rotational grazing)(reels / step-in posts)
- Is there any movement patterns of livestock or wildlife (daily, weekly, seasonally) that dictates placement of fixed features?
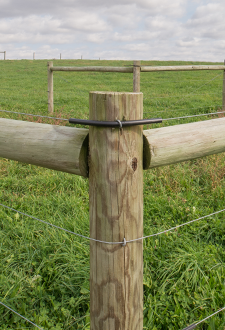
- What bends, corners, dips, or rises will require additional bracing – if any?
- Where should corrals, heavy-use sacrifice areas (Sacrifice Area Blog), or alley ways be placed, if needed?
Some features are easier to move than others, but it’s never convenient to move any of them after the fact. Any fence lines or features you aren’t certain about should be built as temporary as possible for trial and experimentation until it becomes apparent what the most functional design is. This will save you time, money, and sweat that would otherwise be lost if a portion of your design needs to be uninstalled and rearranged.
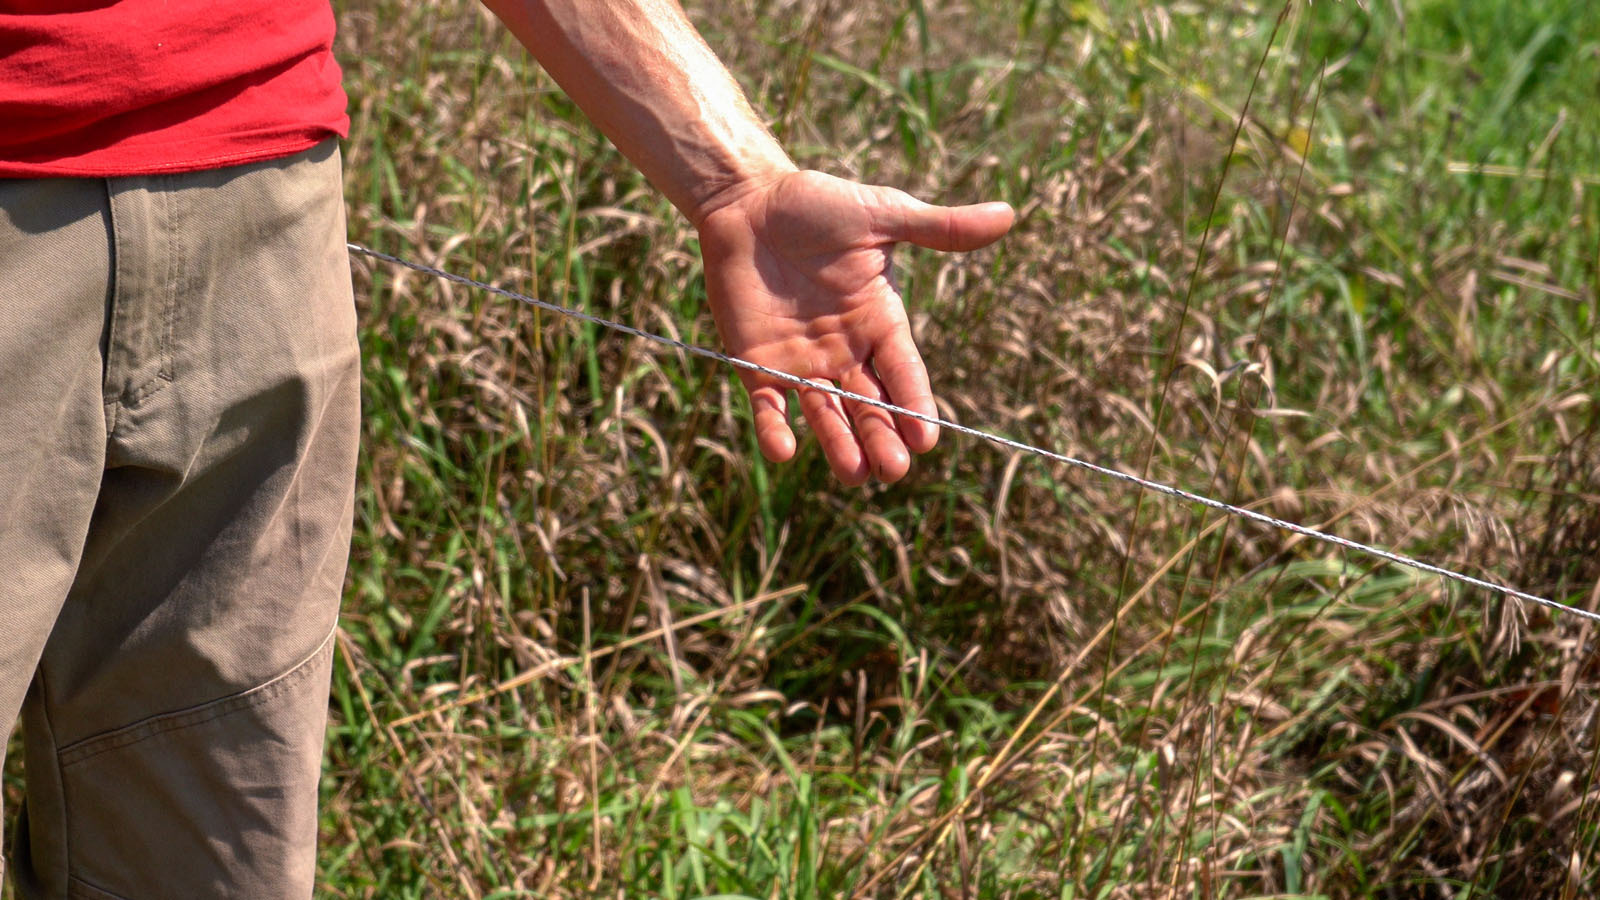
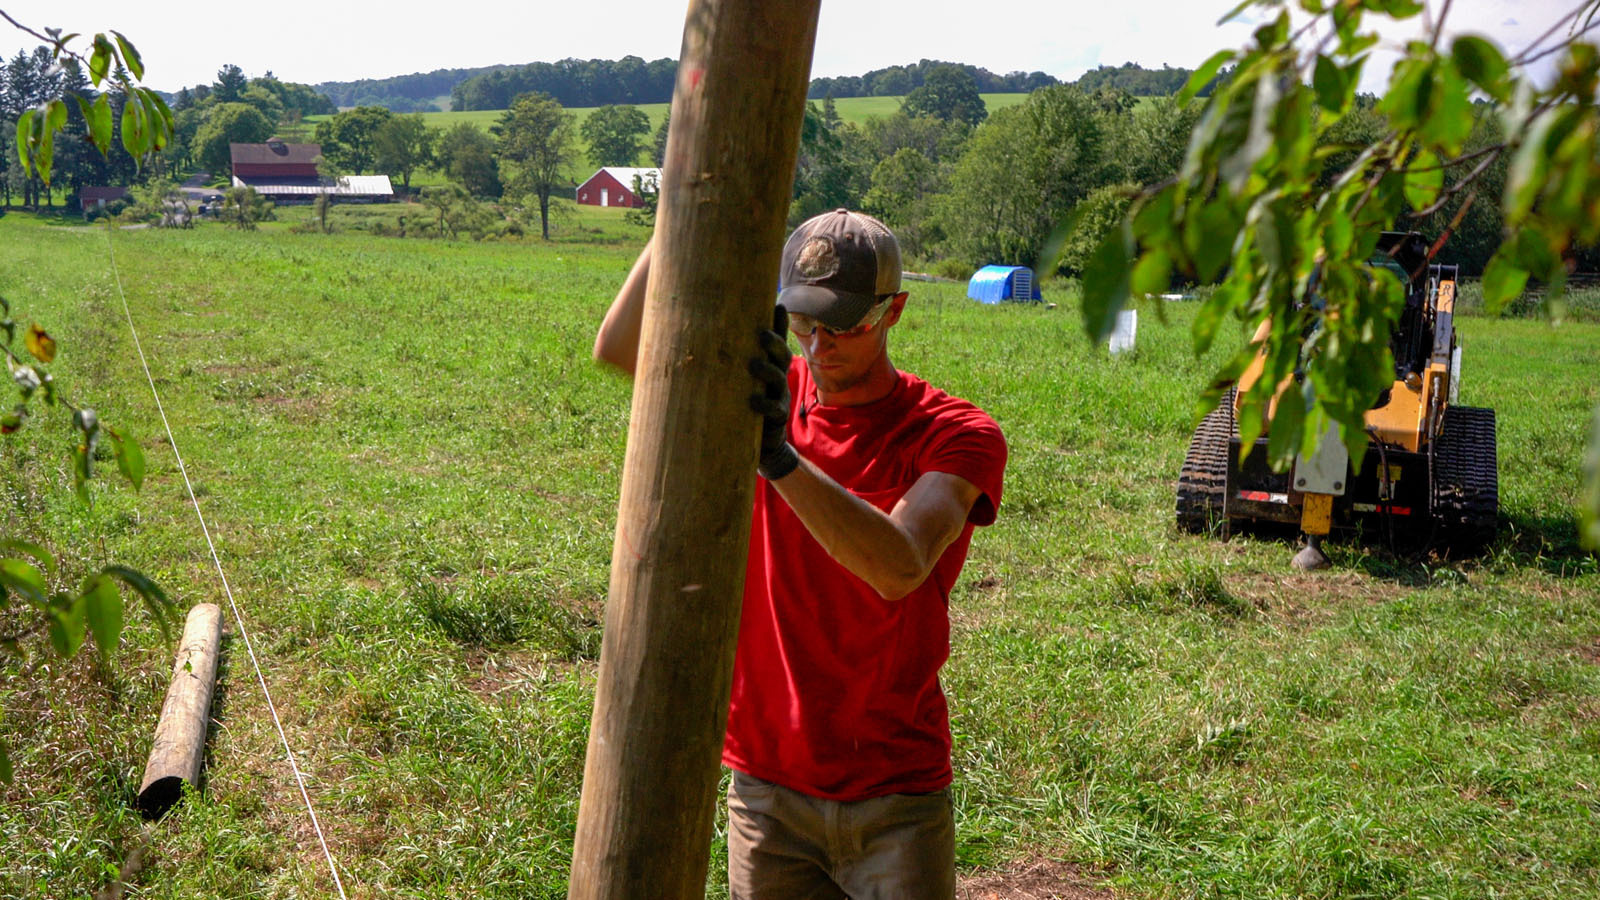
Once the permanent fixtures are planned, you can proceed to install them in an order of operations that fits your needs. Corner posts, bend posts, and end posts can be installed in order to create the main points of the fence perimeter. After these posts are set, they can be used to string a guide wire or straight line to aid in the alignment of line posts. A straight wire or string will always beat the naked eye! With an established straight-line indicator from point to point, you can then proceed to measure and mark for line post placement based on your livestock and context. (for suggestions on post spacing, see “Most common Fence Questions” blog). Keep in mind, some fence materials require a post spacing maximum in order to maintain a valid warranty – such as Horserail or HotTop Plus which recommends twelve foot spacing but is not to exceed fifteen feet.
With a plan in hand, and your key permanent features in place, you are ready to drive posts and complete the next steps of your build!