Free Shipping on qualified items.
Click here for more details


BLOG
Coated Wire Fence Repair

Similar to high-tensile fence, coated high-tensile wire can be repaired easily with a few tools and materials. As a quick refresher from our last blog, you will need to do a quick walk around your fence line. Once you have noted your major repairs, such as broken insulators, cracked posts, sagging wires, or loose braces, you can start creating your list of materials. Some basic supplies to keep on hand all year long are crimp sleeves, strainers, extra wire, underground wire, insulators, split bolts, a fault finder, and a spare energizer. With these supplies, you can complete most basic repairs quickly.
If your repairs are beyond a simple fix, check out our tips below to repair the top five most common issues with an electric fence.
In no particular order, our five most common fence troubles can be a real nightmare, but they don’t have to be. With proper installation and management, you can create a worry-free and trouble-free fence system that is built to last. Here are our top 5:
Damaged Underground Wire Damaged Wire Loose Post(s) Bad Connections (splices, corners, ends) Shorts (bad insulators, weeds, wires touching)
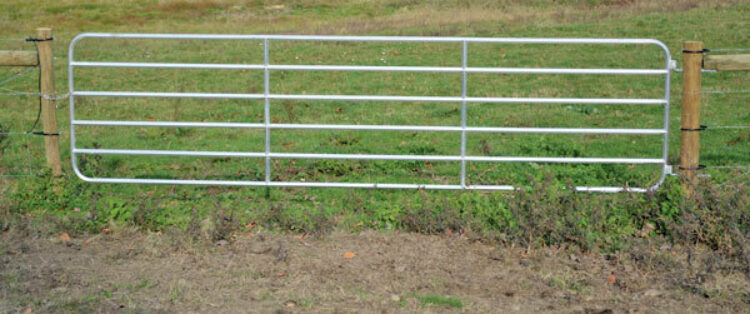
Gates are a necessity for any fence system, but spring gates and traditional gates can cause a headache. If you are using traditional gates, typically you need to run wire to the other side of the gate to continue your electric fence system. In most cases, this is accomplished by running wire under the gate. By running wire under the gate, you are able to quickly and easily move power without making your gate hot. It’s important that you are using a high-quality, double-walled, insulated wire to transmit this energy from point A to point B. We also recommend running this coated wire about 10” below ground in some type of conduit or PVC pipe. This prevents the delicate underground wire from becoming smashed from heavy objects passing through the gate. It’s also important to seal the ends of the conduit to prevent water from entering and causing problems down the road. Even with these extra steps, it is possible for your underground wire to go bad for various reasons.
If you are experiencing a loss of energy along your fence, try testing on either side of your gate(s). If you are noticing a loss of voltage, then nine times out of ten your underground wire will need to be replaced. Before digging up your underground wire though, you should check your connections on either side of the gate for possible corrosion or damage. Try replacing your crimps or split bolts to see if this resolves your lack of voltage. If not, get out the shovel!
If you have not used conduit or PVC in the past, now is the perfect time to install a more sustainable underground wire system. Start by purchasing a piece of PVC (or your choice of material) that is as long as your gate opening.

*PRO TIP* Also purchase four elbows for each length of pipe. Using the elbows on the ends of your PVC will protect the wire from rubbing along a sharp edge and causing a weak point.
You will also need a length of underground wire. We recommend our 12½ Gauge Double Wall Underground Wire, which is sold in multiple lengths. This durable and insulated underground wire is ideal for gates. You will also need a two split bolts to complete the task.
Start by digging a 10”-12” ditch under your gate. You can choose to come a little outside your gate, directly below your gate, or cheat inside your gate a few inches. Next, run your underground wire through your conduit of choice. Pull the wire through the pipe and splice it using either crimps or a split bolt to your top hot wire, and continue to connect all of your hot wires using either a split bolt or open-tap crimp sleeves. You will want to seal the ends of your conduit with some type of silicone to prevent water from entering. After your ends are sealed, connect the other end of your underground to the top hot wire on the other end of your fence and repeat connecting all of your hot wires. You can choose to cut the wire before running it through the conduit, but it is easier to wait until one end is connected before cutting the extra wire. After your wires are connected, fill in your trench, and test your fence to see if you have resolved your fault.
Number two on our list of common faults is damaged wire. Coated wire and traditional high-tensile wire can become damaged from a variety of things such as impact, rust, or cracks. Check your wire for any of these common faults. If you do notice a section of damaged wire, it’s important to replace that wire before additional headaches come your way.
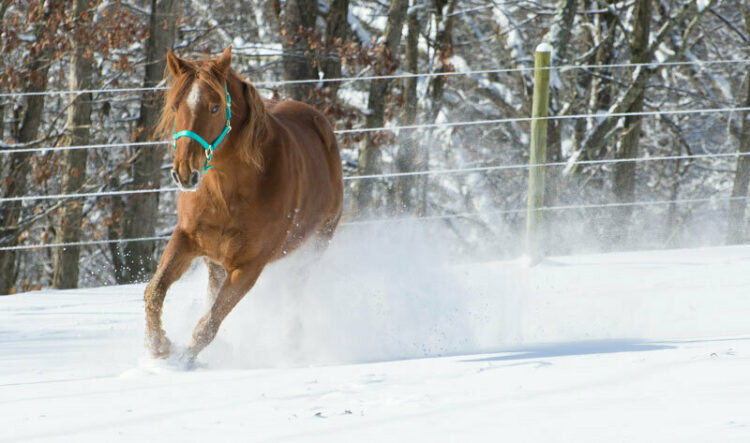
*PRO TIP* Coated wire can be hard to manage when it’s cold and stiff. Try making repairs when it’s warm outside, or bring your replacement wire inside and warm it up prior to installing new sections of wire.
To replace damaged wire, simply cut out the bad section. Our favorite tools for this are the Eze Pull 4-in-1 Fence Tool (TEP) to score and remove the coating, and Knipex Wire Cutters (TCTXS) to cut the wire. There are a variety of ways to remove the coating, but this is our favorite. Once you have removed the bad section, use crimp sleeves or a quick splice to connect new wire. If you are worried about the appearance of the repair, you can always use Hotcote tubing to hide the splice. After replacing the bad wire, re-tension your fence with strainers. If you are using the Gripple system, you will need a Gripple Torque Tool.
If you use a traditional strainer, you may want to invest in a handle to easily and quickly add tension. Your style of strainer will determine which handle to use. We recommend using the KIWI Strainer with Quick-End (SASQ) to prevent additional crimping. For this and other Hayes-Style Strainers, use our Contractor-Grade Handle (TFHC). With this round handle, you can easily apply tension without hurting your hands. Not sure what style strainer you have? The most common are Donalds-Style and Hayes-Style. Check out the image below to see which type of strainer you have, and which handle will work best for you.
*PRO TIP* you will also want to invest in a good pair of pliers to pull the scored coating off the wire*
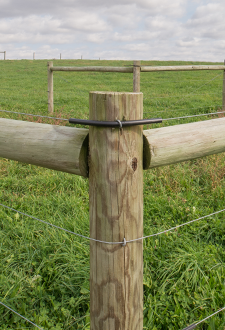
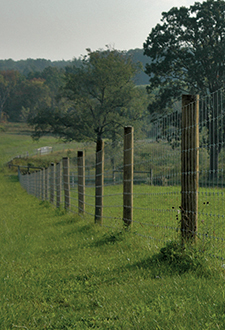
Thirdly, loose or damaged posts can be a real hassle. It’s important to not take shortcuts when installing fence. They may save time and money at first, but they will surely cost you more in the end. If your posts are not set below the frost line, you risk the constant freeze and thaw of the ground to move your post upwards. If this is the case, you might notice your posts are loose, broken, or your wire may not be tight, causing hot and neutral wires to touch, or animals could become entangled in the fence.
Your corner and end posts need to be significantly larger and deeper than your line posts since they handle much more tension. It’s also important that your brace is built properly. If you need to replace posts, you may want to invest in a post driver. Some areas may even have a driver available for rent. If you are local to our Blairsville, Pennsylvania warehouse, we have post drivers available for rent. Pounding new posts can be a cumbersome task that shouldn’t be taken lightly. You may want to use this opportunity to make major changes to your fence, or even consider replacing all posts to ensure you will not be completing the same task year after year.
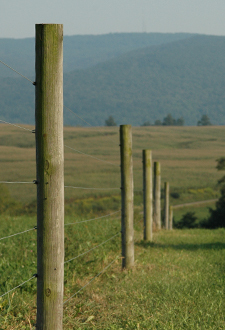
Corner and end posts are the foundation of your fence. Without a strong foundation, you may experience a plethora of issues, from posts pulling out of the ground to sagging wires. It’s important to properly size your posts as well. Check out our chart below to see what size posts you should be using for your corners and ends. To determine the length of your post, you will need to know the frost line in your area. You will want to pound line posts at least 30" into the ground, unless your frost line is deeper. In that case you want to install posts 6" below your frost line. For your corner posts you want to drive post at least 3' deep. If your frost line is below that, install the post an additional 8" below your frost line.
| 4 or less lines | 5-6 lines | More than 6 lines | |
|---|---|---|---|
Corner Posts | 4-5" | 5-6" | 6-7" |
| Line Posts | 3.5-4" | 4-5" | 4-5" |
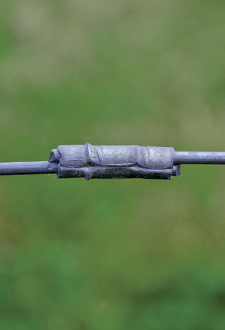
Fourth on the list of common problems is a poor splice or connection. These connections could be crimps, splices, split bolts, or your lead-out wire. It’s important to inspect all these connections yearly to identify potential weak points in your fence line. Poor connections can also lead to loss of voltage. With each bad crimp or splice, you may experience resistance, which causes a drop in voltage. To replace a bad crimp or splice, simply cut the bad section out and repair using the same tools as stated above. Don’t forget to reapply tension to your fence line afterward.
You should also check all lead-out wires to ensure you are not losing voltage before it even hits your fence. Test your energizer when it is not connected to your fence to get a base line reading, then test your fence directly next to where it connects to your energizer. If you see a drop in voltage, you may want to replace your lead-out wires. You will also want to visually inspect these wires and connections for any signs of corrosion or rust.
Your final inspection point is to isolate any shorts along your fence. You may not always hear the “click” of a short, so it’s important to check your fence line for any places where shorts are prone to exist.
Our first suggested place is to check your bottom line. If you are experiencing heavy snow or a heavy weed load on your bottom hot wire, you may want to invest in an energy controller. This little tool stops the flow of energy to a line when a load is detected. This keeps your whole fence from dropping in voltage and simply cuts the power to the line it’s connected to.
You may also want to check your brace wires. This is a great opportunity for voltage to leak from your hot wires. A simple fix is to install Hotcote tubing on your brace wires. If this isn’t something you did on your install, you can always cut a non-conductive material, such as a garden hose, and use this to insulate your exposed brace wire. Kencove also produces the Spiralator insulator (I5S), which is available in a coil, and can be snapped onto any wires that may be in contact with your hot lines.
*PRO TIP* Gates can also be a source for lost voltage. If you notice your gates are hot, and have insulated any places wires may touch your gates or gate hardware, you may want to try grounding your gate to prevent any unwanted shocks. To ground your gate, simply install a ground rod (or two) off the gate hardware on either side of the gate including the gate latch.
Other losses of voltage may come from cracked insulators or too large of an energizer on your fence. If you are still reading a loss of voltage along your fence line after fixing all the above faults, you may need to add ground rods to your ground bed. This will help not only increase your voltage, but improve the shock to your animal.
For more information on grounding or properly sizing your energizer check out our blogs.
Getting your fence repaired prior to spring doesn’t have to be a nightmare. Kencove offers all the tools and materials needed to make quick, high quality repairs.
Our product specialists can offer additional tips for repairing coated wire. Give us a call or shoot us an email, we are always happy to help.