Free Shipping on qualified items.
Click here for more details


BLOG
Finding The Fault

Finding the fault along your fence line is a dreaded chore. It can be frustrating and time consuming. Fortunately, Kencove offers a wide range of tools to help you find and resolve issues along your fence line quickly and easily.
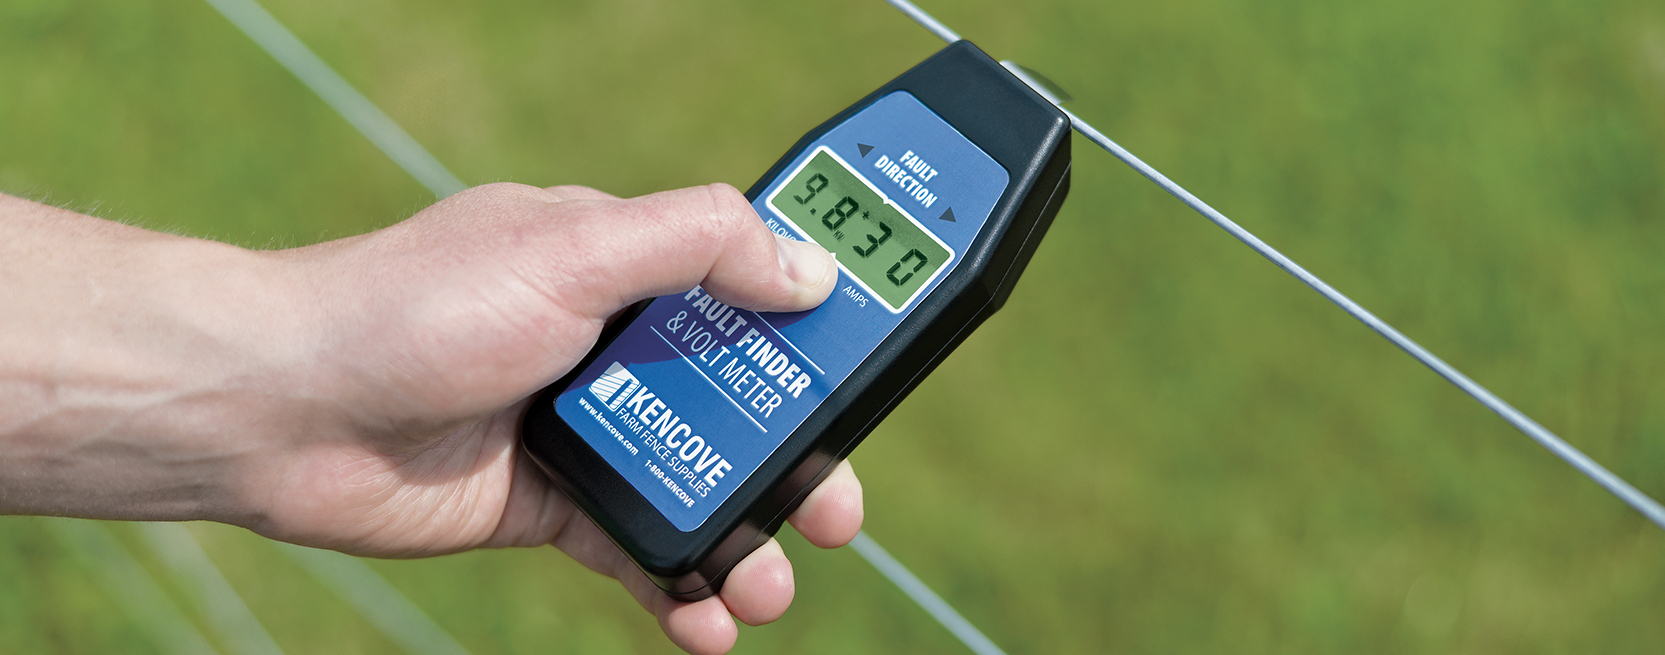
The first step in resolving a fault along your fence line is to identify what is causing the loss of voltage on your fence. There are a few simple tools that will help you quickly identify the area of the fault. You can use a simple voltmeter, or invest in a fault finder to swiftly identify the direction of the loss of voltage. Having some type of voltmeter is critical to any size operation. A fault finder is nice, but the added expense is not necessary.
A second key point to any large or intricate fence system is keeping accurate records. You should keep a note pad and record the common voltage you read along your fence. Our example below includes:
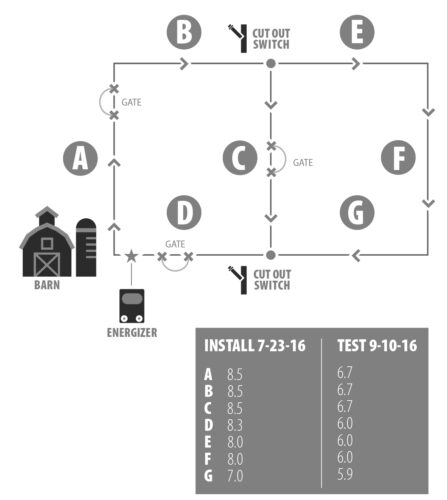
A basic layout of the fence Gates Cut-out switches The direction of the voltage Underground wire Where the energizer connects to the fence
We also started a record of when the fence was installed and the voltages read at that time. A few months later, the fence was tested and the voltage was recorded. It is critical to test your fence periodically and note the time of day and any weather conditions or soil conditions, such as 2 weeks of rain, heavy vegetation, tested in the morning while the fence line was wet with dew.
By keeping records, you can quickly diagnose issues along your fence line. Not only will you be able to identify if the voltage drop is due to ground conditions or a fault, you will have an average reading of your fence for reference. By knowing your typical fence conditions, you can determine if you need to investigate further for problems such as a downed limb or cracked insulator, or to know that you need to add moisture to your ground bed.
We also recommend installing cut-out switches along your fence line. This allows you to put all your voltage into one pasture or paddock, which lowers your risk for lost voltage. You can also quickly identify which section of fence is the culprit for the loss of voltage, and systematically rule out each section of fence. This way you can focus on one section of fence to identify the loss of voltage, whether that be a cracked insulator or bad splice. This will save you time by not having to search your whole fence line.
As we touched on a little bit above, some common causes of voltage loss along your fence line include:
- Heavy vegetation load
- Cracked insulator(s)
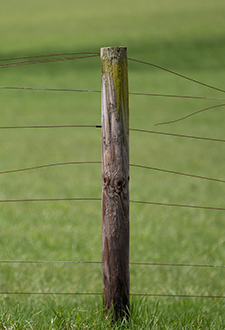
- Rusty wire
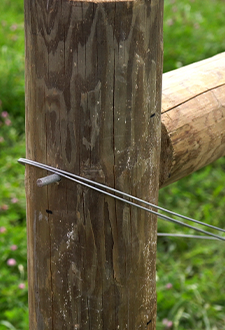
- A poor splice or crimp
- Old and frayed poly product
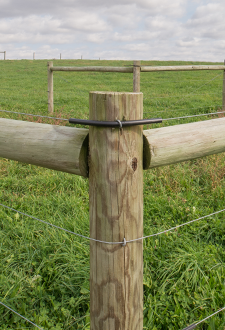
- Brace wires touching a hot wire
- Damaged underground wire
- Damaged lead-out wire
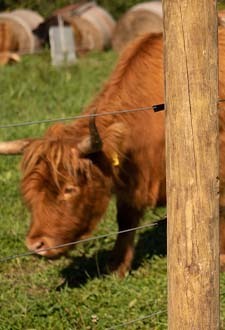
- An obstruction on your fence line, such as a tree limb
The easiest faults to find and eliminate as the core issues are a heavy vegetation load or a limb along the fence line. Although weed eating is a time-consuming task that often gets pushed aside, it is a critical aspect of keeping a fence functioning properly.
If the fault isn’t an obvious answer, you can move on to the next phase of finding the fault.
Test your energizer without the fence hooked up to it. If you are reading over 6,000 kilovolts (kV), your energizer is not at fault. Next, hook your fence back up and test your fence right at the spot it connects to your energizer. At this spot, you are testing your lead-out wires. If you see a dramatic drop in voltage from when you tested the energizer itself, you either need new lead-out wires, or you need to check your ground bed.
If you do not see a drastic drop in voltage, you will need to eliminate other sources along your fence line. Having cut-out switches or a fault finder will come in handy for this step. If you have cut-out switches installed, slowly work your way around your pasture(s), turning off sections of fence and turning them back on once you have eliminated them as the cause of the fault. Do this until you locate the section of fence responsible for the loss of voltage.
Once you have identified the approximate location of the fault, begin to eliminate the obvious and most common issues such as underground wire, splices, or cracked insulators. Once you have located the fault, unplug your fence and begin repairs. After repairs are made, turn your energizer back on, and test your fence to ensure there are no additional faults along your fence.
If you do not have cut-out switches installed, start by testing on either side of any gates or underground connections. If your loss of voltage is on the opposite side of the underground wire or gate, you will need to replace the underground wire. If all your gates are OK, check your corners and brace posts for any hot wires touching non-insulated wires, such as brace wires.
If you do identify this as your loss of voltage, unplug your fence and insulate the touching wires using a coil of Spiralator insulator tubing. If you are still unable to identify your fault, continue checking down your fence line for any poor connections such as crimps or where wire is knotted, and check for any cracked or missing insulators.
Having a fault finder will help you locate the direction of your loss of voltage. Check along the fence and once the arrows point in the other direction, you know the fault is between the last two places you tested.
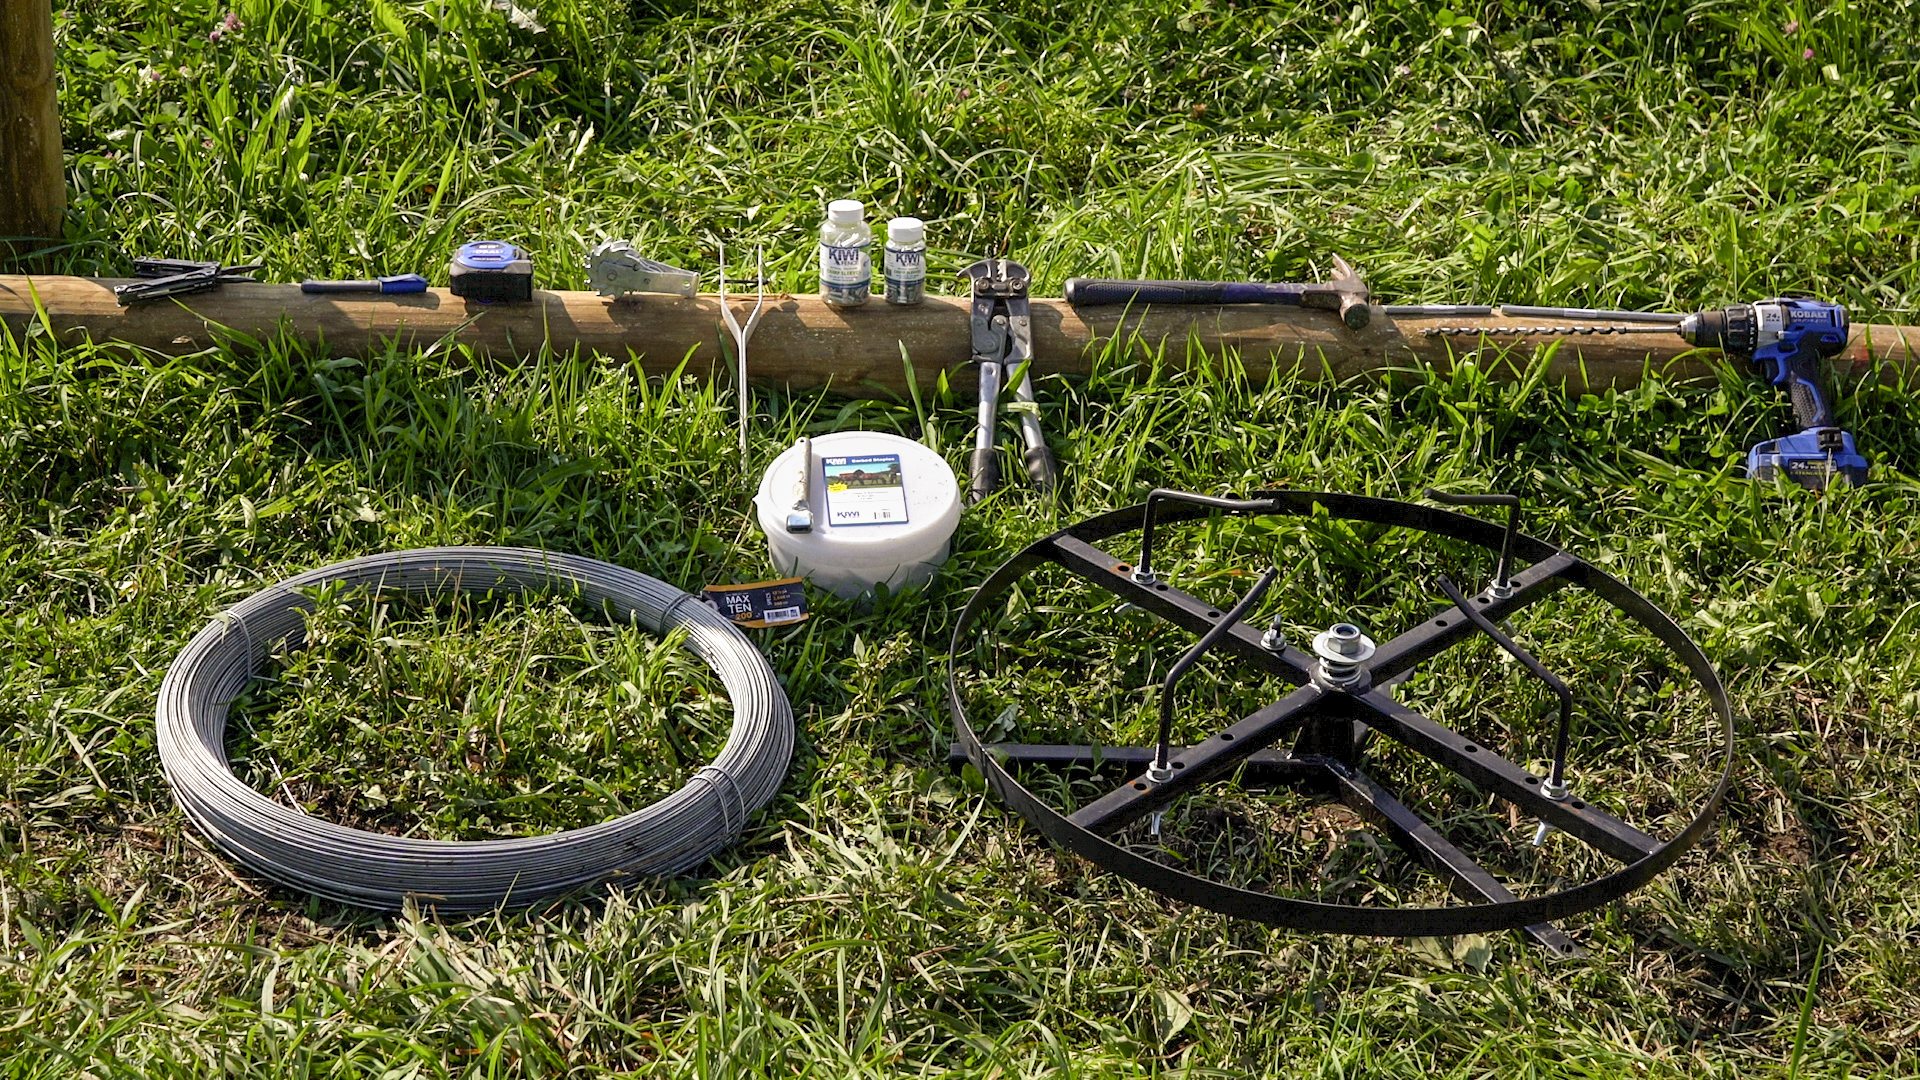
Kencove offers a large selection of the tools and supplies you need to make quick, simple repairs or to overhaul your entire fence. Some common materials to have on hand for quick repairs are:
- Crimps
- Extra wire
- Extra insulators
- Spiralator insulators
- Fence cutters
- Fence crimpers
- Gripple Tensioners
- Gripple Torque Tool
- Strainers
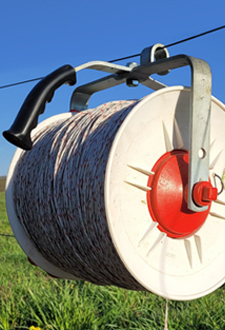
- Underground wire
If you have questions or need additional guidance on how to use a particular product, give us a call at 1-800-KENCOVE. Kencove Product Specialists are here to help you get your fence fixed right, the first time.