Free Shipping on qualified items.
Click here for more details


BLOG
Spring Fence Checklist
Fresh, green vegetation comes as a relief for livestock owners. It usually means a break in weather and a reduced feed bill. As spring kicks into high gear, it’s easy to fall behind pace. In this blog Kencove offers a Spring Fencing Checklist to help you get out on pasture and take advantage of the fresh forage.
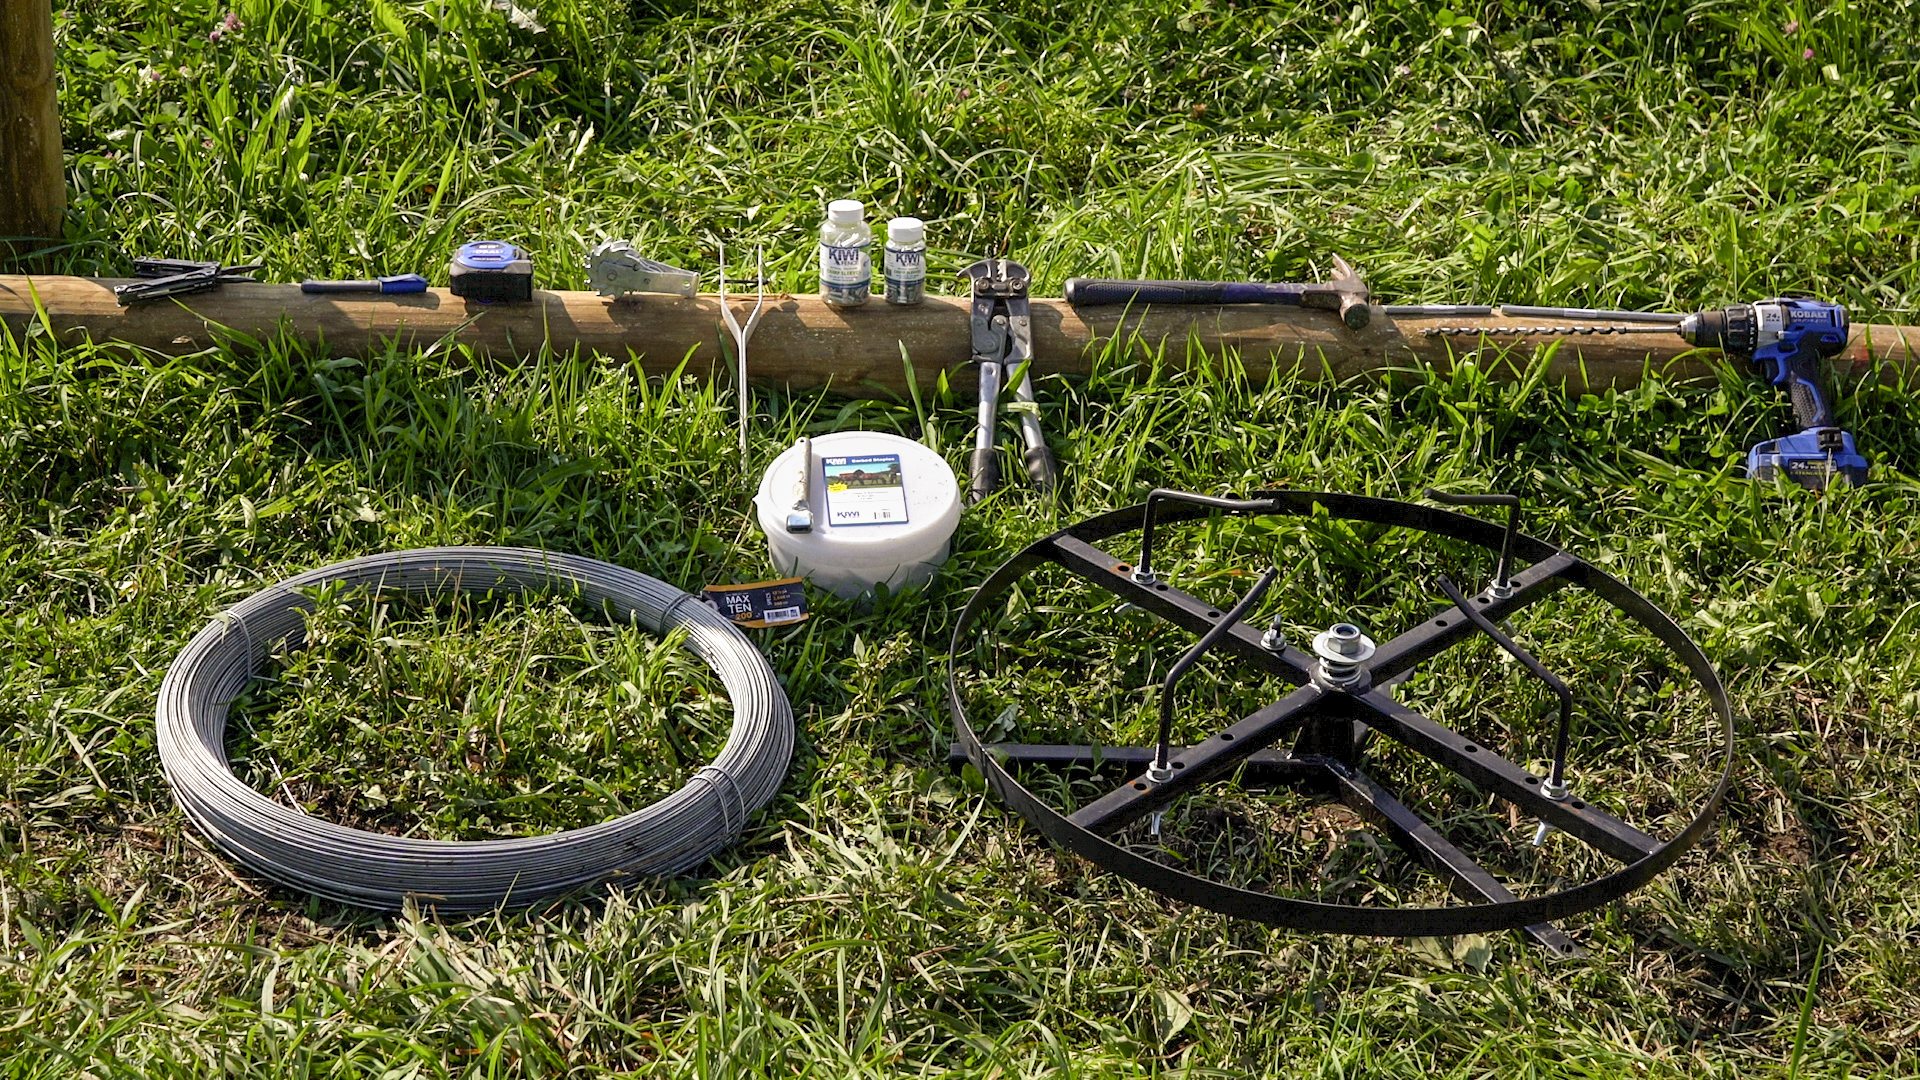
Before you even step out of the barn, it would be wise to pack a small bucket with tools to help you repair fence as you stumble upon issues. Here is a good list of supplies to carry for hit and run repairs...
- Voltmeter/Fault Finder/Remote – Know the reading on your fence as you go. You want to see high voltage and low amperage. A spike in amperage indicates a fault or short and the directional arrows will guide you to the issue. A remote, with a compatible energizer, gives you the additional power to turn the energizer off while you make real time repairs.
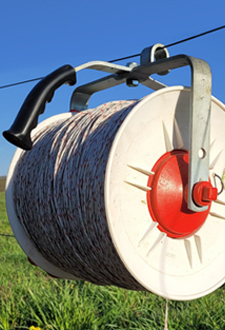
- Gripples or Crimps – You are bound to come across a broken wire at some point. Be prepared to make splices. No use making more trips back and forth – repair as you go.
- Extras – No doubt you will need to replace some staples or insulators. It’s always a good idea to grab extra staples and insulators before you embark, even a few extra feet of wire! For high tensile fence using tube insulators, the Spiralator is the ideal insulator for adding or replacing insulators on existing fence.
- Tools – Most of the supplies listed above require the proper tools to be used correctly. A crimp tool should always be used when compressing crimps. Wire cutters handle high tensile wire with ease. The Kiwi Ezepull tool is the Swiss army knife of fence tools as it can cut wire, strip coating, pull staples, and compress crimps. It would also be wise to carry a strainer handle so you can re-tension wires as you check them. And naturally, a hammer is a must for driving staples.
Permanent and Perimeter Fence Considerations
1) Trees and Brush
Woody species provide a lot of benefits to pastures such as fodder, shade, and windbreak. I strive to leave as many trees and bushes intact as possible, but every now and then they create conflicts of interest.
The weight of winter ice and snow combined with the winds and saturated ground of spring can cause trees to trade their vertical glory for horizontal ruin. It ought to become second nature to patrol fence lines looking for downed limbs and future liabilities. Tree damage on woven wire may require some repair while high tensile wires will probably bounce back with little additional effort.
You will also want to pay attention to any species of vegetation, alive or dead, that could cause alarm for health concerns. Here in Pennsylvania, wild cherry trees grow in most pastures without concern. However, if a tree or a limb comes down, the withering leaves and bark can be toxic for cattle and horses. Pay attention to downed timber even if it is not directly on the fence!
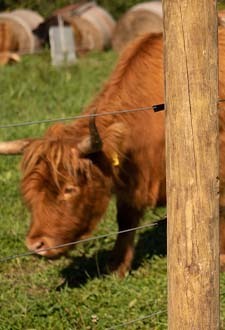
2) Wildlife Crossings
Similar to woody vegetation, wildlife and deer are a beautiful asset that come with their own signature scars on fence lines. Wildlife highways aren’t hard to see, often a trail has been carved into the landscape and eventually crosses over, under, or through your fence. The common signs of deer impact are popped staples, missing insulators, and sagging wires. The tools mentioned previously should make quick work of these repairs.
3) Voltage and Amperage
Most low impedance energizers function on a 0-10kV range with 10 being the most powerful. People often ask for an energizer with more output voltage when what they really need is more output joules. Joule output, in short, is the ability of the energizer to push or carry that high voltage around the entire fence. To ensure you have a big enough energizer for your fence, we recommend 1 output joule per mile of fence.
It is possible to over-energize your fence. Using an energizer that is too large for your fence will put out a wider energy sphere, since it is not traveling as far as it could, and therefore could conduct to hardware, staples, or tube gates. If your gates are “hot” or you notice other hardware conducting electricity from your energizer, it is possible your energizer is too big for the current load.
The ideal for electric fence readings is high voltage and low amperage. As mentioned above, high amperage indicates a fault or short and should be located and addressed using a fault finder. Once you get an acceptable voltage reading, typically 6.5 to 10kV, you’ll know your fence is functioning properly. If all faults have been addressed and no other issues are visible but your voltage is still low, there is a simple way to verify that your energizer is in working order.
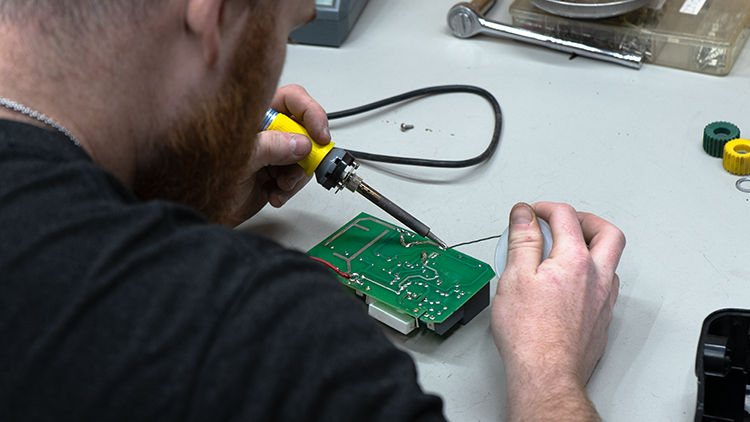
To test your energizer for proper function, first unplug the energizer. While it is without power, disconnect the lead wire connecting the fence to the positive (“hot”) terminal but leave the ground wire connected to the negative (“ground”) terminal. When you plug the energizer back in it will now be functioning fully grounded and without any load. This will give you a true indicator of the energizer’s output without chance of interference on the fence side. Use your voltmeter to check the voltage at the positive terminal on the energizer. You should see high readings as there is no load on the energizer. If the reading is under 7.0kV there is a good chance the energizer is in need of repair or maintenance. High readings above 7.0kV would indicate the energizer is working properly and that the outstanding issue is with the lead out wire or somewhere on the fence line.
To send an energizer in for repair, simply click this link and follow our easy procedure!
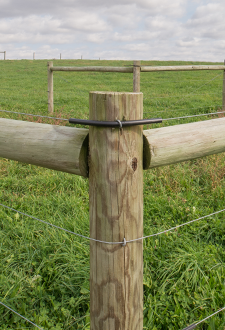
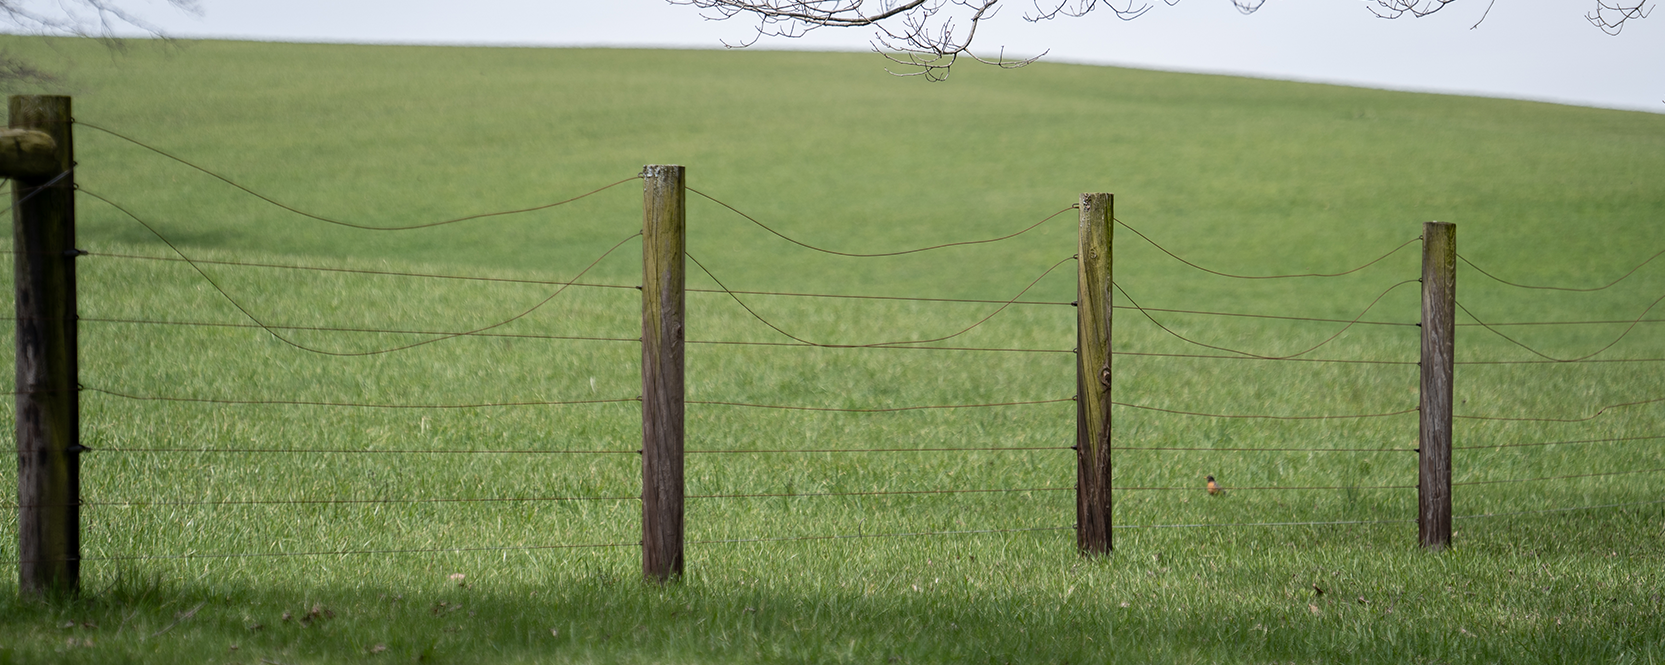
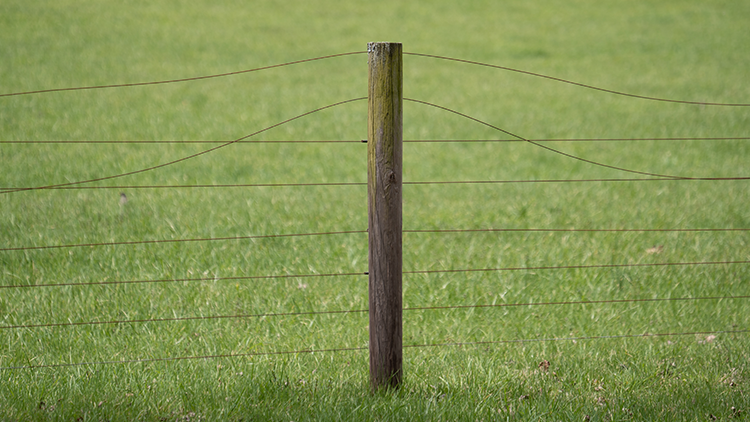
4) Tension
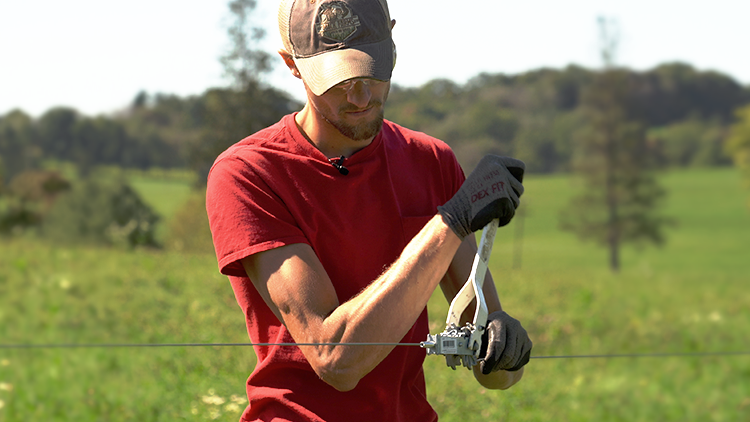
Weather, wildlife traffic, and time can all take a toll on fences. Spring is a good season to inspect the tension on your fence and adjust if needed. If the fence has taken a hit from wildlife or trees, it is likely in need of a tune up, hence the strainer handle in your tool bucket! A fence will be most effective when it is maintained and tensioned properly.
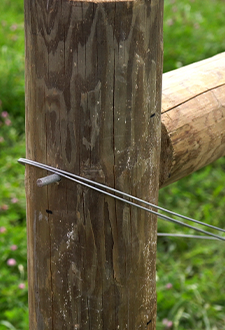
5) Quality Connections
The effectiveness of your electric fence is also reliant upon good connections. Inspect your ground bed and confirm it is free of corrosion between rods and the ground wire. Other connections such as jumper wires and cutout switches should be checked to make sure they are tight, making adequate contact, and in working order. The goal is to maintain voltage where it should be and insulate it where it shouldn’t be. Replace any components that are no longer up to the task.
No one likes surprises, especially livestock-related surprises! Taking a few minutes to check and maintain your fence could save you hours down the road. Don’t turn livestock into pasture just assuming the fence is exactly how it was when you left it. Use this checklist to get your fence ready for spring, and remember – a little bit of prep goes a long way in the pasture!