Spring has a funny way of revealing everything winter tried to hide.
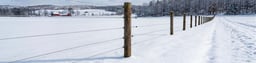
The freeze-thaw cycles, ice storms, heavy snow loads, and months of wind work quietly on your fence line all season long — and by the time the ground thaws and you're ready to turn animals out, the damage is already done. A leaning post here. A dead wire there. A section of woven wire lying flat in the mud.
The farmers who catch these problems early fix them fast and cheap. The ones who wait find out the hard way — usually when something gets out.
This guide walks you through the five most common signs of winter fence damage, how to spot them, and exactly what you'll need to make repairs before the season starts. And if you want a printable version to take into the field, [download our free Spring Fence Inspection Checklist here →]
Why Spring Fence Inspection Matters
A fence that looked solid going into November may be compromised in ways that aren't obvious until you get up close. Winter creates a perfect storm of stressors:
Frost heave pushes posts upward and sideways as the ground repeatedly freezes and expands. Ice and snow load adds hundreds of pounds of weight to wire runs, stretching or snapping what was once tight. Freeze-thaw cycling works fasteners, staples, and insulators loose over time. Debris and fallen limbs from winter storms short out electric lines and pull down wire. Snowmelt and runoff erode the soil around post bases, leaving them structurally unsound even when they look fine above ground.
None of these announce themselves. You have to go looking.
The best time to walk your fence line is late winter or very early spring — before you need it, before the rush hits, and while Kencove's inventory is fully stocked with fast shipping. Here's what to look for.
Sign #1: Leaning or Snapped Posts
Frost heave is the single most common cause of post failure after winter, and it doesn't discriminate — wood posts, steel T-posts, and fiberglass posts are all vulnerable in different ways.
As the ground freezes, it expands. If a post doesn't have adequate depth or footing, that expansion pushes it upward or laterally. Repeated over an entire winter, a post can shift several inches from its original position. A leaning post transfers stress to every wire attached to it, pulling staples, loosening insulators, and sagging your line.
What to look for:
- Posts visibly tilted more than a few degrees from vertical
- Wood posts cracked or split at the soil line
- T-posts that have clearly heaved upward (you may see exposed bare metal below what was previously ground level)
- Any post that moves when you grab it and push
How to fix it: Minor lean on a T-post can sometimes be corrected by driving it back down with a post driver. More significant heaving — or any post that's cracked, rotted, or loose in the ground — should be replaced entirely. Don't try to save a compromised post with a brace; it's a short-term fix that creates a long-term headache.
What you'll need: [Replacement wood posts →] | [Steel T-posts →] | [Post driver →]
Sign #2: Broken or Sagging Electric Fence Conductors
Your electric fence is only as strong as its weakest point — and after winter, there may be several. A single break anywhere in your line means zero voltage across the entire run downstream from that break. Animals figure this out quickly, often before you do.
Ice accumulation weighs down wire and rope conductors, stretching them beyond their rated tension. Falling branches snap conductors outright. Repeated freeze-thaw movement cracks and fatigues connections at gate handles, corner assemblies, and inline joiners.
What to look for:
- Visible breaks, kinks, or cuts in wire, polywire, or polytape
- Conductors sagging significantly between posts
- Cracked or broken insulators (even a hairline crack can bleed voltage)
- Corroded or loose connections at gate handles and joiners
- Energizer output that tests low at points far from the unit
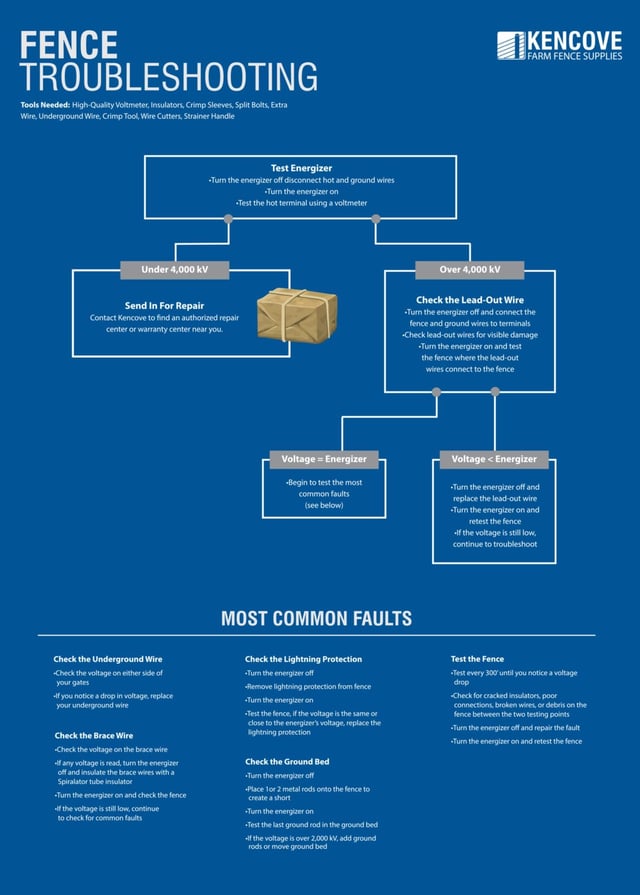
How to fix it: Walk the entire line with a [digital fence tester →] and test voltage at multiple points, not just at the energizer. A significant voltage drop between two test points tells you exactly where to look for the problem. Replace broken conductors, swap out cracked insulators, and clean or replace any corroded connections.
What you'll need: [Polywire →] | [Polytape →] | [High-tensile wire →] | [Insulators →] | [Fence tester →] | [Gate handles →]
Sign #3: Vegetation Shorting Your Line
This is the one that catches farmers off guard the most often, because you can't always see it clearly — but your fence tester will tell you immediately.
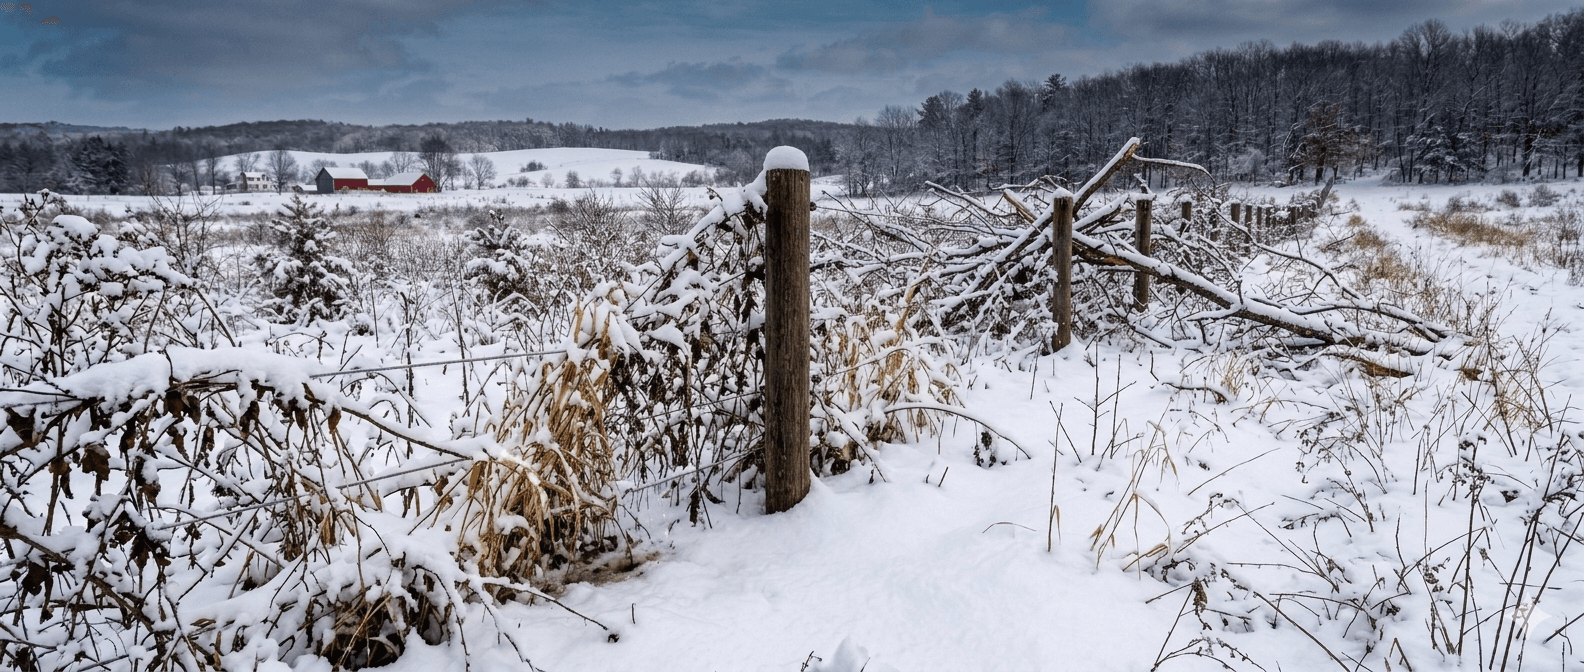
Weeds, brush, and small trees grow toward and into fence lines throughout the season. By fall, there's often significant contact between vegetation and your wire. Over winter, fallen limbs and dead growth collapse onto fence lines, creating a constant drain on your system. Even partially dead vegetation that's wet from snowmelt conducts enough current to drag your voltage down substantially.
A fence running at 2,000 volts instead of 5,000 volts may still shock — but it won't reliably deter cattle, horses, or determined hogs.
What to look for:
- Any plant material in contact with your wire — living or dead
- Fallen limbs resting on or near the fence line
- Voltage readings that are low everywhere along the line (rather than dropping at a specific point, which suggests a break)
How to fix it: Clear all vegetation contact first, then retest. If voltage recovers, vegetation was your culprit. If it remains low, continue looking for breaks or insulator failures. Going forward, a regular mowing or spraying program along your fence line is the most effective long-term solution.
What you'll need: [Fence tester →] | [Replacement energizer →]
Sign #4: Lost Wire Tension
Tension is what makes a fence a fence. Whether you're running woven wire, barbed wire, or high-tensile, your fence depends on consistent, appropriate tension to maintain its shape and resist pressure from livestock.
Winter is hard on tension. Heavy snow accumulation bows wire downward. Ice adds weight that stretches wire beyond its elastic limit. Frost heave shifts posts, which slackens the spans between them. By spring, a fence that was properly tensioned in October may be noticeably loose — and loose fence is ineffective fence.
What to look for:
- Woven wire that sags between posts or touches the ground in low spots
- Barbed wire strands that can be pushed several inches without resistance
- High-tensile wire that has lost its characteristic "spring" when deflected
- Staples that have pulled away from wood posts
- Clips or ties that have come loose from T-posts
How to fix it: Woven wire can sometimes be re-tensioned by pulling the fence at a corner or end post and re-stapling. High-tensile wire should be re-tensioned using an inline strainer or by adjusting your corner assembly. Any wire that has been stretched beyond its elastic limit — where it remains deformed rather than springing back — should be replaced rather than re-tensioned.
What you'll need: [Fence staples →] | [Wire tensioners & strainers →] | [High-tensile wire →] | [Woven wire →] | [Fence stretcher →]
Sign #5: Post Washout and Soil Erosion
Snowmelt generates an enormous amount of water in a short period of time. In low-lying areas, near drainage channels, or anywhere water naturally flows across your property, that runoff can erode significant amounts of soil — including the soil around your fence posts.
A post that looks completely solid above ground may be sitting in a cavity twice the diameter of the original hole. It will stand fine until the first time an animal leans on it.
What to look for:
- Erosion channels running toward or along fence lines
- Soft, sunken, or washed-out soil around post bases
- Posts that move or rock when you grab them firmly — even if they appear straight
- Low spots where water clearly pooled or flowed during snowmelt
How to fix it: Posts with significant erosion around their base need to be reset. Pull the post, dig out the hole, repack with compacted soil or set in concrete, and re-drive or reinstall the post. In areas with chronic erosion problems, consider setting end and corner posts in concrete regardless of what's happened this winter — it's a one-time investment that prevents recurring issues.
What you'll need: [Replacement wood posts →] | [T-posts →] | [Post driver →]
How to Do a Complete Spring Fence Walk
Set aside a few hours and walk the entire perimeter of each pasture you plan to use this season. Bring:
- A digital fence tester (essential — don't skip this)
- A notepad or your phone to log problem areas by location
- Basic hand tools — pliers, staple hammer, wire cutters
- A printed copy of this checklist
Test your energizer first, then walk the line and test voltage at regular intervals. Flag any problem areas with survey tape so you can easily find them when you return with repair materials. Prioritize repairs in the order you plan to rotate animals into each pasture.
[Download the Free Spring Fence Inspection Checklist →] — a printable, field-ready PDF with checkboxes for each sign, space for notes by fence section, and a materials list you can bring straight to your order.
Get Everything You Need at Kencove
Kencove has been helping farmers and ranchers build and maintain better fences for over 40 years. Our Spring Prep Collection has everything on this list — T-posts, woven wire, high-tensile wire, insulators, energizers, fence testers, and more — ready to ship before the season rush begins.
Not sure what you need? Our fencing experts are available by phone, email, or live chat to help you figure out exactly what your repair requires. Contact Us